
How to Boot the Correct Image - DXS-3600-32S CLI
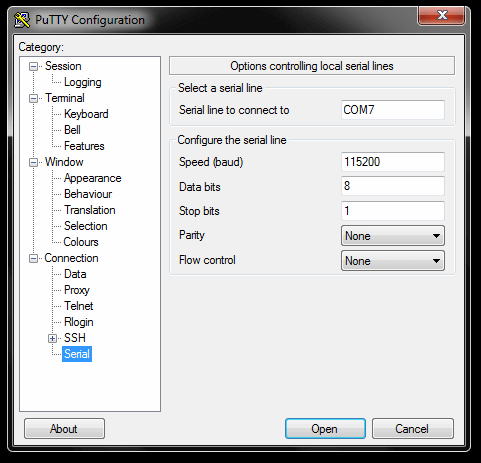
Step 1 – Connect to console port of DXS-3600-32 and configure PuTTy as follows:
Note: COM7 is used in our example, however it may be different on you PC/Laptop. (To check this, you will need to go to Device Manager)
Step 2 – Once configured, click on “Session” and enter a name in “Saved Sessions”. Click “Save” then “Load”
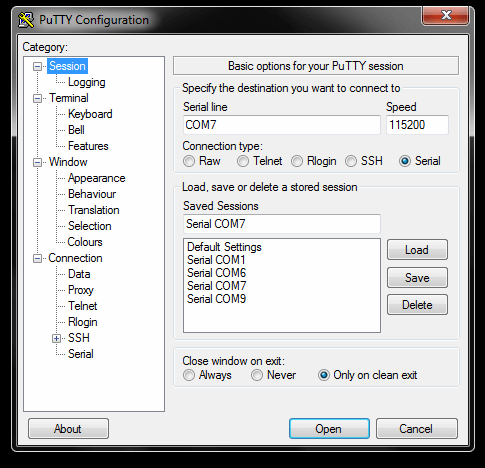
Click “Open”
Step 3 – Once loaded, hit the enter key and create a user
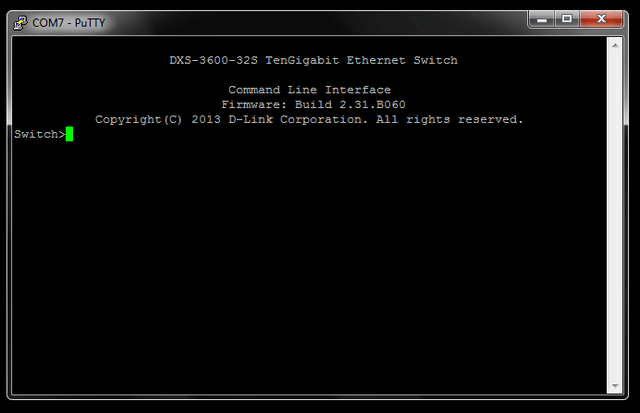
Switch>enable
Switch#configure terminal
Switch(config)#username admin password admin
Switch(config)#username admin privilege 15
Switch#copy running-config startup-config
Destination filename startup-config? [y/n]: y
Saving all configurations to NV-RAM.......... Done.
Switch#end
Step 4 – Check firmware in /c:
Switch#dir
Directory of /c:
1 -rw 8137216 Sep 11 2012 12:18:18 runtime.had
2 -rw 9785720 Jun 24 2015 10:07:33 2.00.B042 – In this example we are changing to this firmware
3 -rw 12451244 Jun 24 2015 15:49:22 2.40
4 -rw 9927668 Jun 24 2015 11:20:27 R2.31
5 -rw 34559 Jun 24 2015 15:52:12 config.cfg
6 d-- 0 Jun 24 2015 18:53:17 system
1073217536 bytes total (1030461440 bytes free)
Switch#
Step 5 – Check which firmware is used on boot
Switch#show boot
Unit 1
Boot image: /c:/2.40
Boot config: /c:/config.cfg
Step 6 – To change to a
Switch(config)#boot image 2.00.B042
Switch(config)#end
Switch#reboot
Are you sure you want to proceed with the system reboot?(y/n) y
Step 7 – On boot you should notice the above firmware used to boot the switch
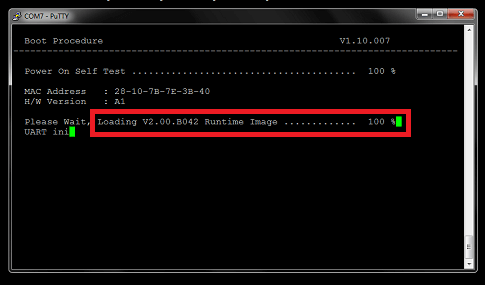
If you miss the above screen then enter the following command:
Switch#show boot
Unit 1
Boot image: /c:/2.00.B042
Boot config: /c:/config.cfg
These may also help:
- How to Change the Time and Date Zone Via CLI - DXS-3600-Series Read Answer