How to manually configure the DNR-322L as NVR + File Server
Before configuring the device as an NVR + File Server, please note that if it was configured only for NVR or just file storage, all information will be deleted from the discs.
For this configuration the device will need two hard drives, as setting NVR + File Server uses the first HDD as Volume 1 for NVR recording and the second HDD as Volume 2 for the file server.
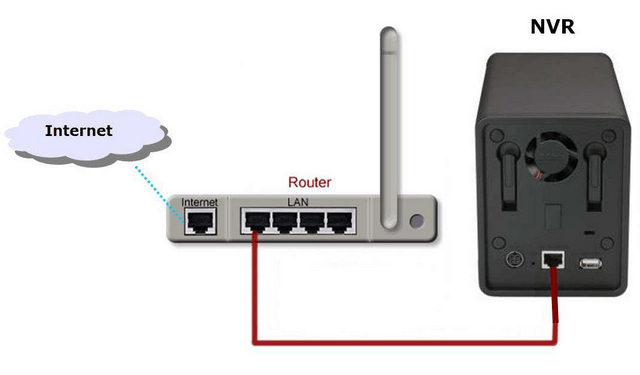
Step 1 - Firstly, plug the network cable into your router and the DNR-322L and power up the device with the power button
![]()
Step 2 -To start the manual configuration of the NVR, you need its IP address. You can log in to your router, which may show the information either under DHCP Clients or LAN Clients.
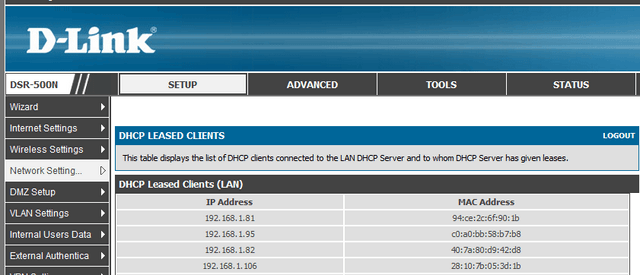
If your router does not have this option, you can use the DNR setup wizard to find the DNR’s IP address.
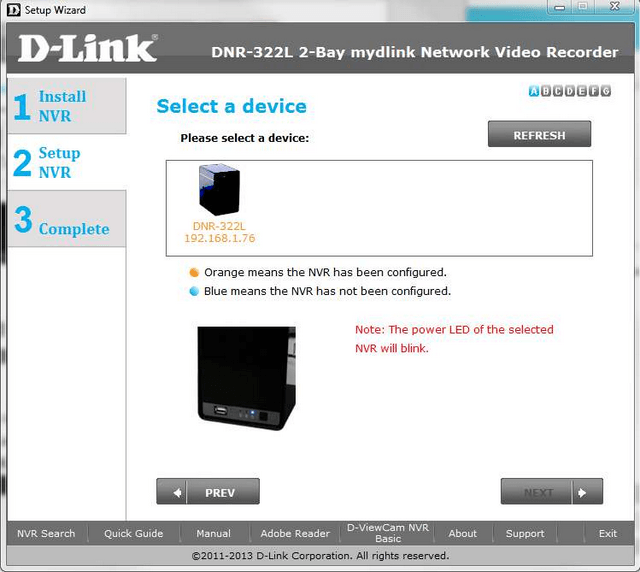
Step 3 -Open the web browser and put the IP address of the DNR (in our case http://192.168.1.76)
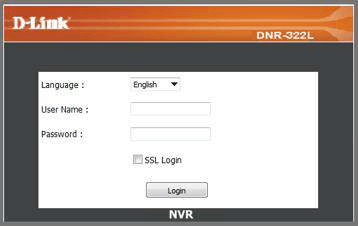
Step 4 - Write admin in the "User Name" field, leave the "Password" field blank and click login
Step 5 - On the top menu click “MAINTENANCE” and then click “RAID” on the menu on the left
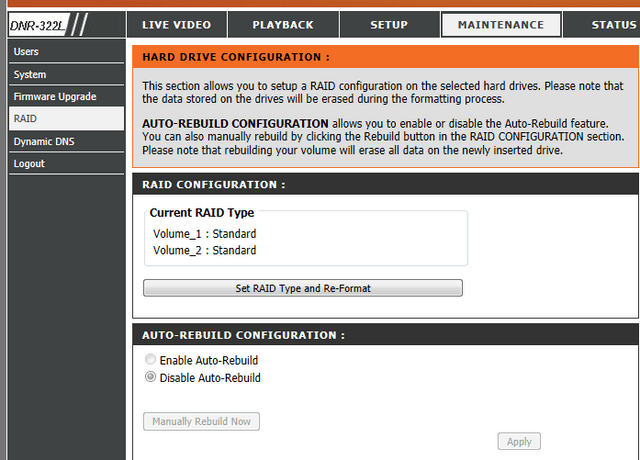
Step 6 - Click "Set Raid Type and Re-Format". The raid configuration will show the information of the disks in pink next to select NVR + File Server
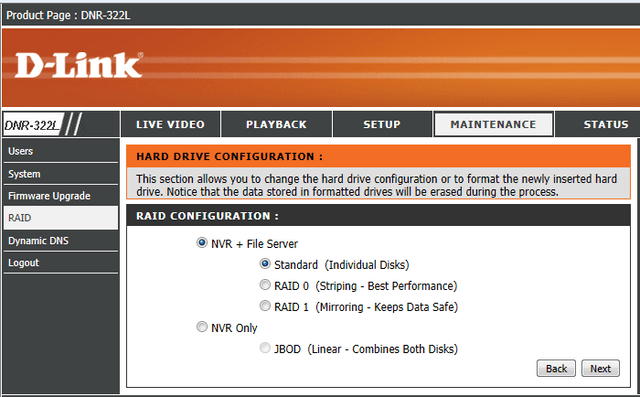
Step 7 - Finally select the format type (Standard, Raid0, Raid1) and click “Next”.
Standard
Choose this setting if you have a hard drive or two that you want to keep independently.
Two volumes are displayed on the network with the respective capacity of each hard drive. You can use different volume capacity.
Example: HD1 (100GB) HD2 (120 GB) => HD1 (100GB) HD2 (120GB)
RAID 0
Choose this setting if you have two hard drives and want to combine them for maximum performance. This allows data to be transferred at a higher speed.
In the network, the NAS will display a single volume with a capacity of twice the capacity of the smaller of the hard drives.
Example: HD1 (100GB) HD2 (120 GB) => RAID 0 array with a capacity of 200 GB
RAID 1
Choose this setting if you have two hard drives and want to mirror the contents of the disc to the other for redundancy and performance.
If a hard drive fails, the other still has all the data, you can continue working on the remaining disk and rebuild the mirror when the failed hard drive is replaced.
In the network, the NAS will display a single volume with the capacity of the smallest hard disk.
Example: HD1 (100GB) HD2 (120 GB) => RAID 1 with capacity of 100 GB
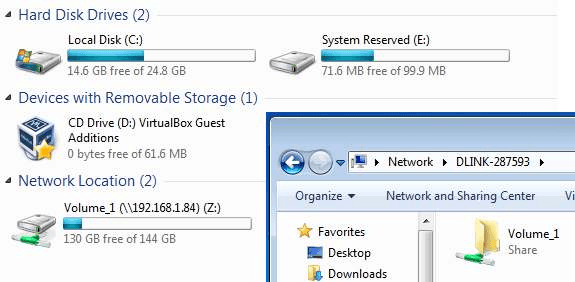
Step 8 - From My Computer, you can see the drive. Other computers can access the volume created by the connecting to: \\192.168.1.76 (Remember to use the actual IP of your DNR)