
How to setup mydlink cloud on DNS-345?
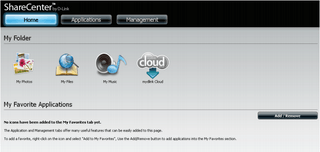
Step 1 – Log in to the DNS-345. On the home screen, there will be an icon for “mydlink Cloud”. Click on it, to start the add-on download.
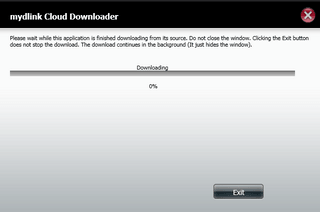
Step 2 – The mydlink Cloud application will download and install on the NAS.
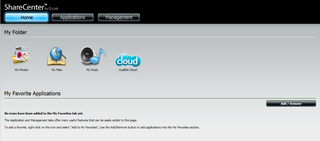
Step 3 – Once complete, the home screen will re-appear, and the icon will now have changed to indicate the application is ready for use.
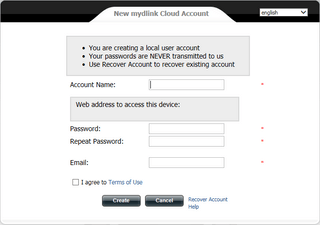
Step 4 – Click the icon to setup the mydlink Cloud application in the NAS. You will need to create an account name. Please note the username forms part of the access (access will be via http://USERNAME.mydlinkcloud.com). You may need to keep trying with different usernames if your preferred name is shown as being unavailable. You also need to set a password, which will be used in the mobile app to remotely access the NAS.
Step 5 – Once you have created your account details, you will then be taken to the mydlicnk Cloud application on the NAS, where you can explore the NAS, and get links to the various mobile apps availble.
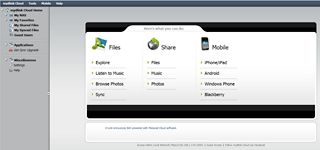
Step 6 – Download one of the apps to your smartphone. There are versions available for iPhone/iPad, android, Windows Phone (the NAS application refers to the mobile app as being for Windows Phone 7, however it will work with Windows Phone 8.1) and Blackberry.
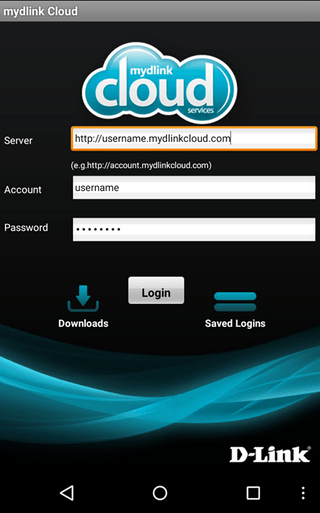
Step 7 – Run the app on your phone. You will be greeted with the login screen.

Step 8 – The server field should be the mydlink Cloud address, which is of the form: USERNAME.mydlinkcloud.com. The account field should be your chosen username, and the password field the password you set when you created the account.
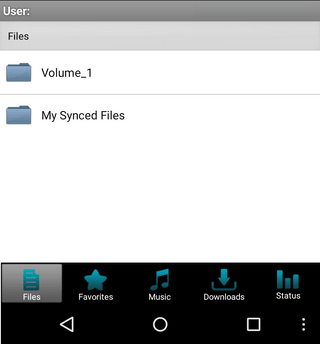
Step 9 – Upon logging in, you will be presented with the main screen
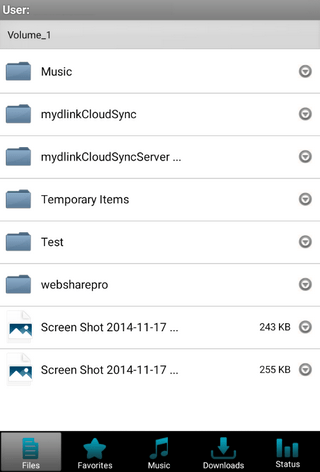
Step 10 – Tapping on one of the folders, will show all available files and folders.
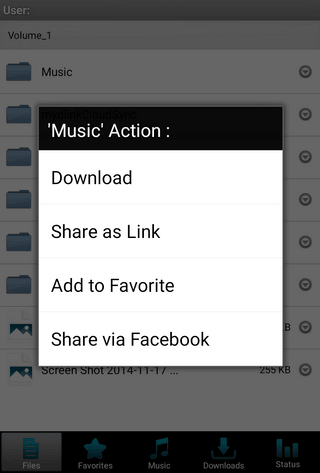
Step 11 – Pressing and holding your finger on one of the folders will reveal a menu of available actions. Pressing and holding your finger on one of the files will reveal a menu of available actions for the file.
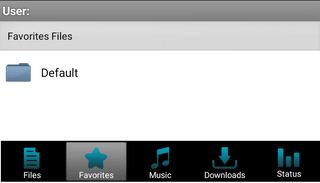
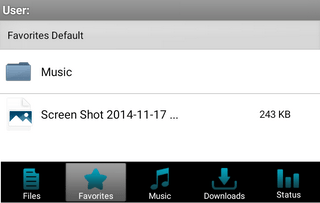
Step 12 – If you have added any files or folders to your Favorites, they will appear in the “Favorites” tab.
Step 13 – You can play music by pressing and holding on a music file and selecting to play. You can control the playback via the “Music” tab.

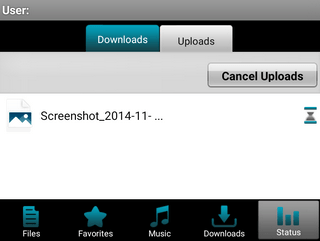
Step 14 – Tapping on the “Status” tab will show the status of any uploads or downloads.
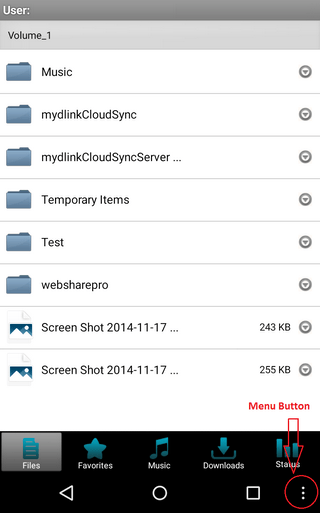
Step 15 – To upload a file to the NAS from your phone, you need to use the “Files” tab to navigate to the folder you want to upload the file to. Press the “Menu” button (highlighted in the image below)
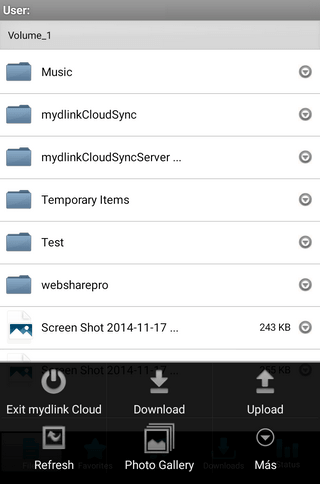
Step 16 – From the menu, click “Upload”
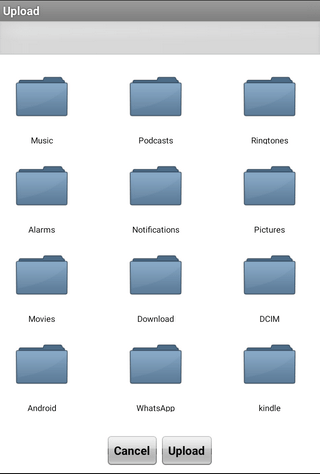
Step 17 – You will then see the folders on your phone, to allow you to choose a file. Navigate to the folder containing the file you want to upload, tap on the file and then tap “Upload”.
These may also help:
- Why can’t I print to my USB printer attached to my DNS-345? Read Answer
- How do I connect to DNS-345 via webdav in Mac OS X? Read Answer
- How do I connect to DNS-345 via webdav in Windows? Read Answer