
How do I setup Time Machine on DNS and mac OS X?
This document assumes that you have already done the following:
- created a new network share
- created a (new) user that has full read/write permissions for the above network share
- enabled the afp service
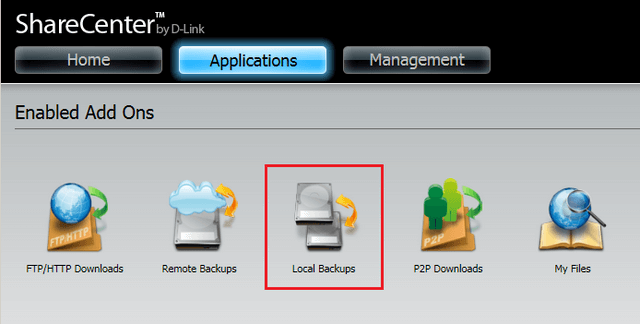
Step 1 – Login to the NAS, click “Applications” in the top menu bar, and then “Local Backups”
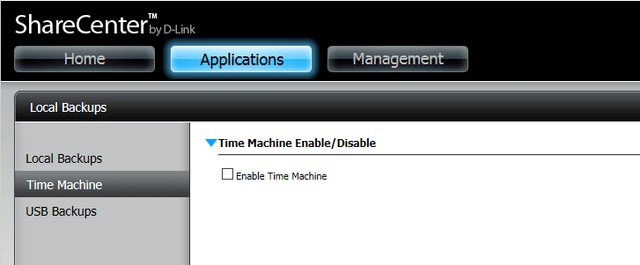
Step 2 – From the left hand menu, click “Time Machine”, and then click to “Enable Time Machine”
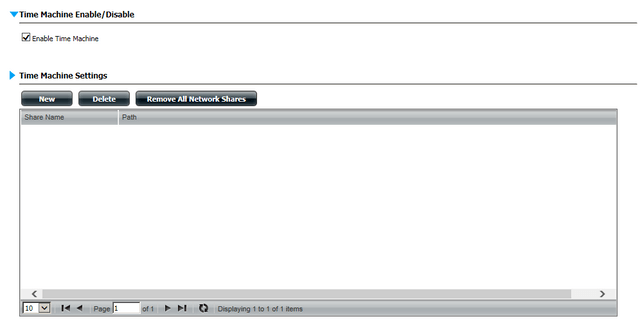
Step 3 – Click “New”, to select the Time Machine share
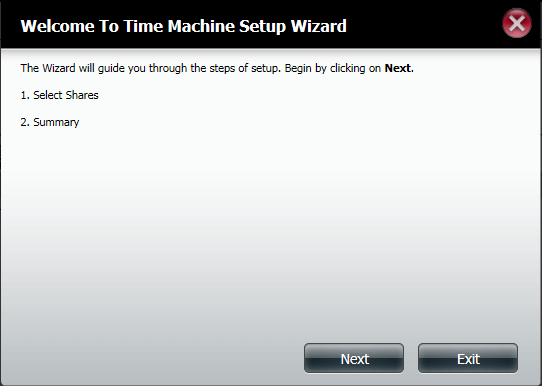
Step 4 – Click “Next”.
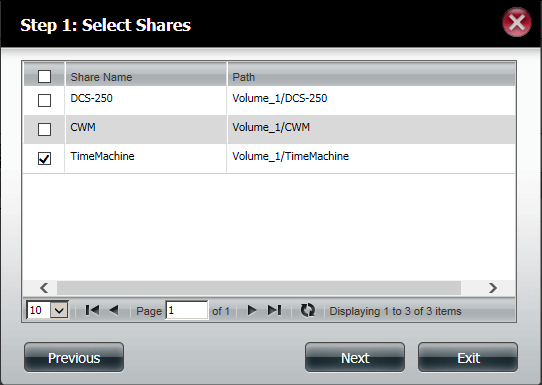
Step 5 – Select the share you want to use for Time Machine, then click “Next”
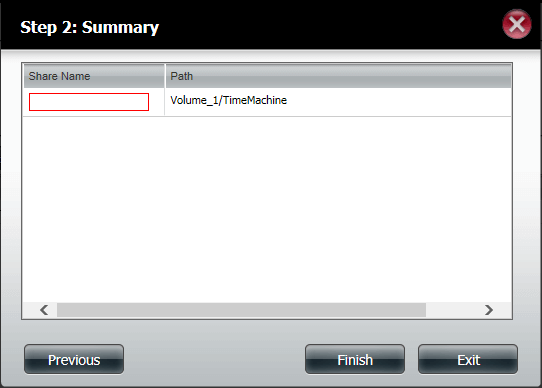
Step 6 – Give the share a name (e.g. Time Machine) and click “Finish”
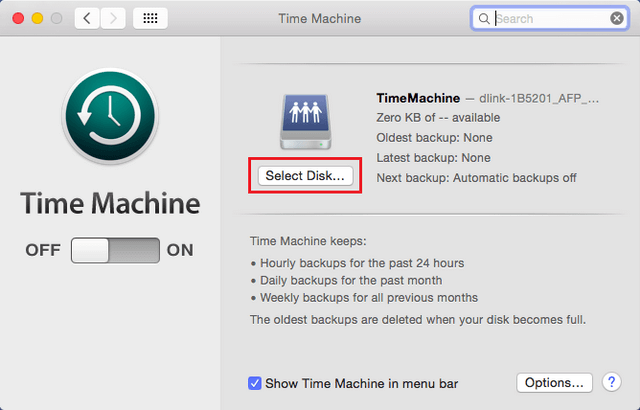
Step 7 – On your mac, open “System Preferences” and click on “Time Machine”

Step 8 – Your NAS may already be selected. If not, click “Select Disk” to select the disk you wish to use
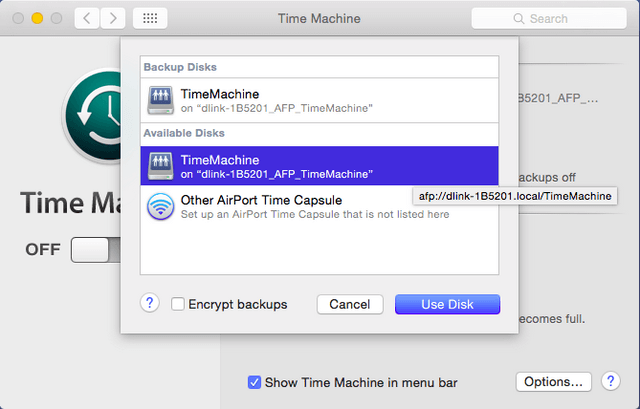
Step 9 – Select the Time Machine share you set in Step 6, and click “Use Disk”
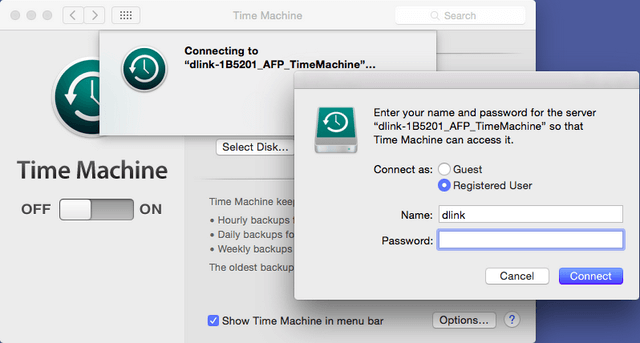
Step 10 Fill in the login details for a user you created on your NAS that has full read/write permissions for the Time Machine share and click “Connect”
Step 11 – If it was not already enabled, Time Machine will then be enabled and the first backup will start shortly thereafter
These may also help:
- How do I Create Users, Groups and Share Folders in DNS-320L? Read Answer