
How to setup a local backup by LAN - DNS-320L?
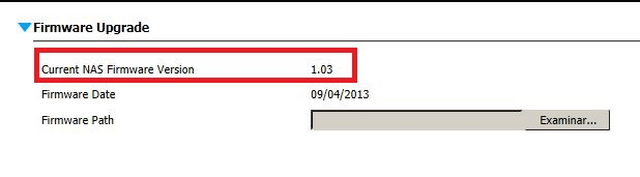
NOTE – Please make sure the latest firmware is installed by checking our site against what you have installed on the DNS-320L.
Step 1 – Access the web GUI of the DNS-320L
Step 2 – Management - System Management > Firmware Upgrade
Local Backup
Step 3 – Go to Applications > Local Backups
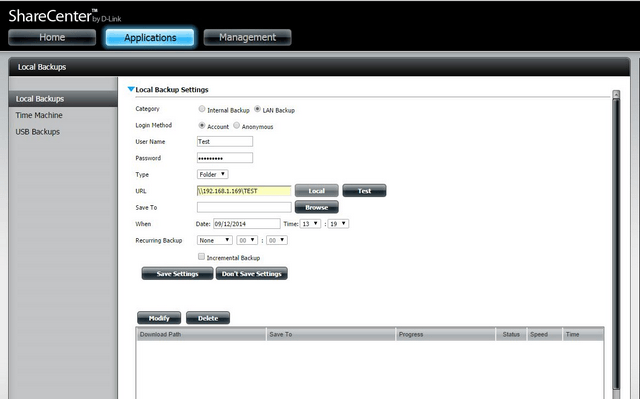
Category: LAN Backup
Login Method: Account
Username: Test (Here we have used the login name for remote PC)
Password: (Here you need to put in the password used to login to the PC)
URL: \\192.168.1.169\TEST
Click on “Test” – If the connection was successful, you will be presented with the following screen
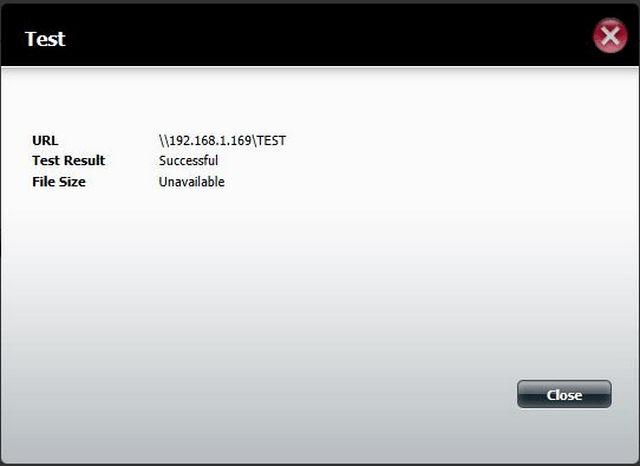
Click on “Close”
Save To: Volume_1/Backup
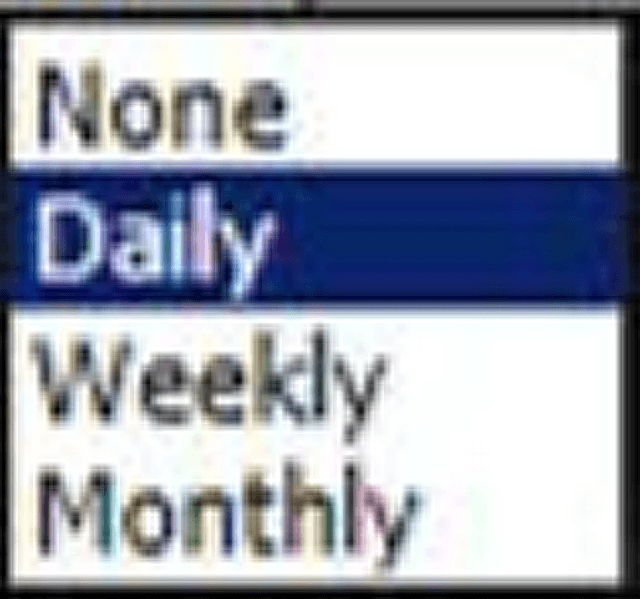
Recurring Backup: 14: 00
Incremental Backup: Enable (Optional)
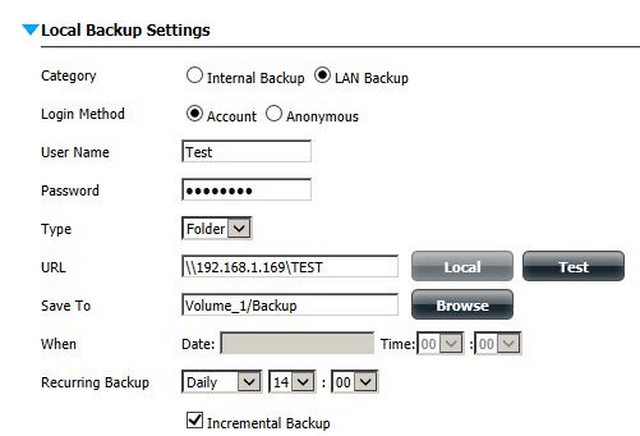
Click on “Save Settings”

Step 3 – Click on “Start/Stop” to proceed with backup. You should get a message in the “Comment” column with “Success”