
How to Remote Backup Local NAS to Remote NAS - DNS-320, DNS-320L / DNS-320L to DNS-320?
Procedure for the following models:
• DNS-320L to DNS-320
• DNS-320 to DNS-320
Step 1 – Enter the management web GUI of your router
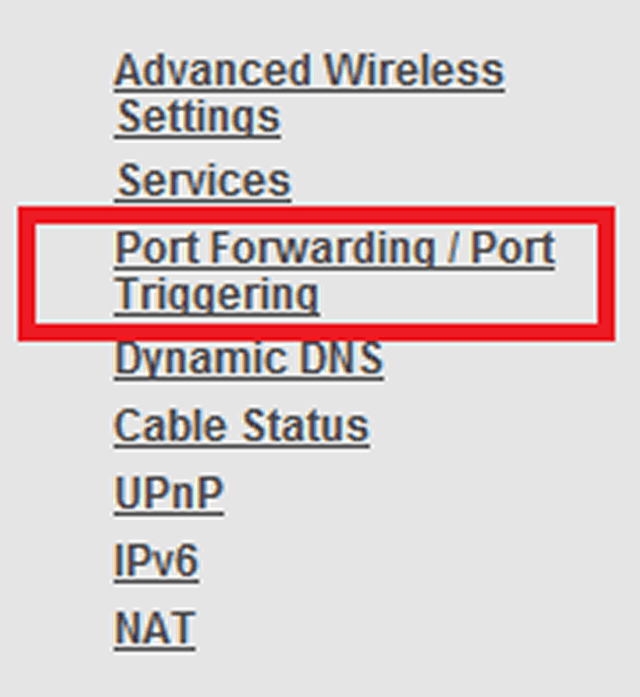
Depending on your router, you will need to allow the following ports:
Port 22 – SSH
Port 873 – RSYNC
Both of the above mentioned ports need forwarding to the local DNS-320L address as follows:

Remote NAS Setup
Step 2 – Enter web GUI of the NAS by entering the IP address into a web browser
![]()
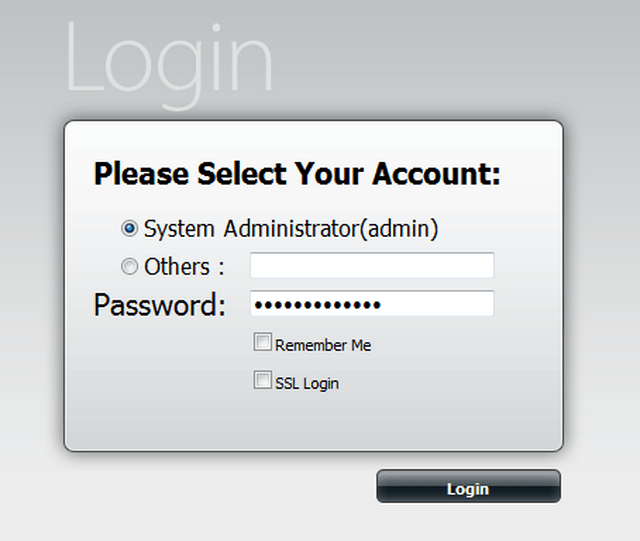
Step 3 – Enter the password and click on “Login”. Once logged into the ShareCentre Management Page, go to Remote Backups
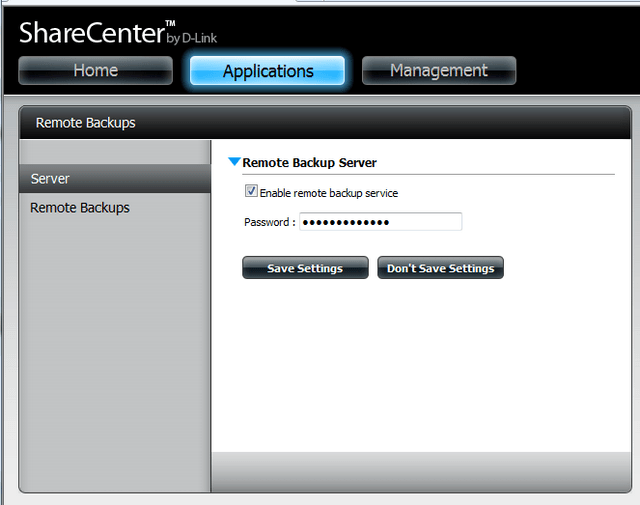
Applications > Remote Backups > Server
Remote Backup Server:
Enable remote backup service (click here)
Password: (Enter the password used at login)
Then click on “Save Settings”
Step 4 – Go to the LOCALLY based DNS and configure as follows:
LOCAL NAS Setup
Step 5 – Enter web GUI of the NAS by entering the IP address into a web browser

Step 6 – Enter the password and click on “Login”. Once logged into the ShareCentre Management Page, go to Remote Backups
Applications > Remote Backups > Server
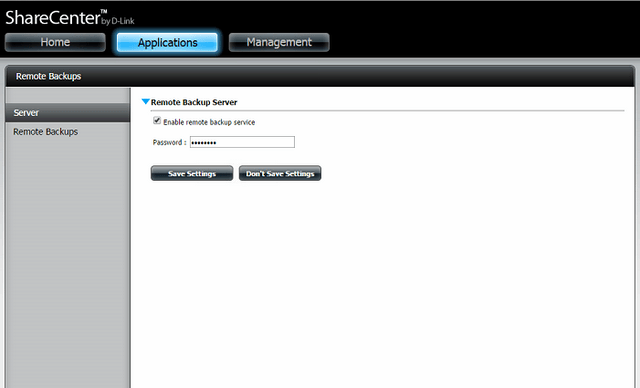
Remote Backup Server:
Enable remote backup service (click here)
Password: (Enter the password used at login)
Then click on “Save Settings”
Step 6 – Click on “Remote Backups” then “Create”
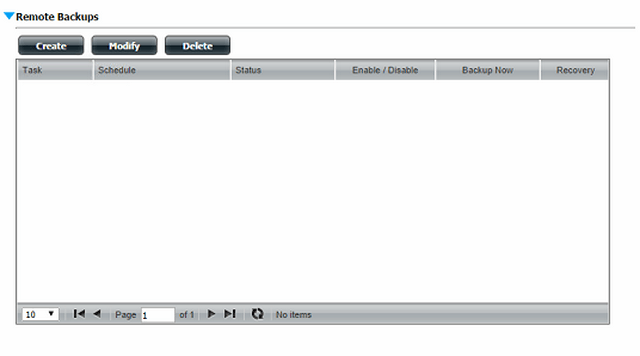
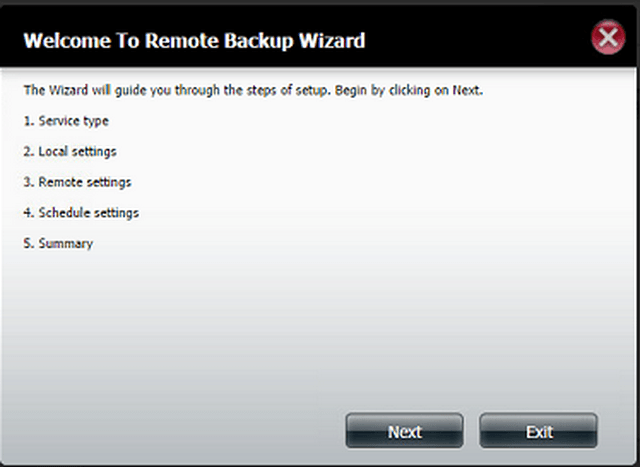
Click “Next”
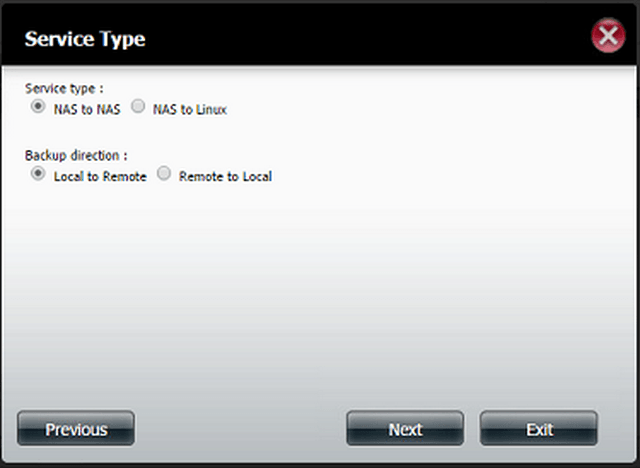
Service type: NAS to NAS
Backup Direction: Local to Remote
Click “Next”
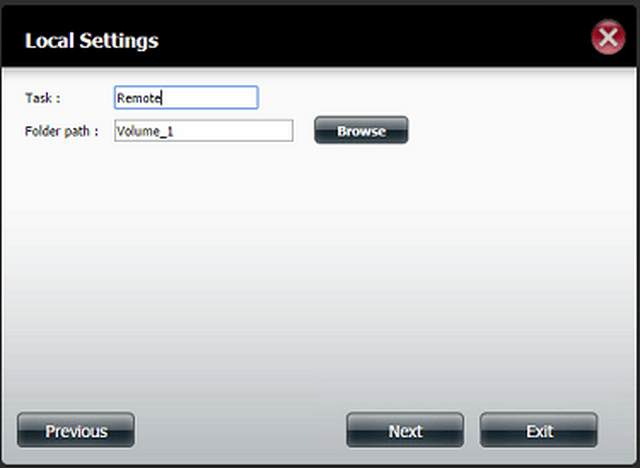
Task: Remote (Here you can type a mean full name)
Folder Path: Volume_1 (Click on “Browse” to search for the folder path to backup)
Click “Next”
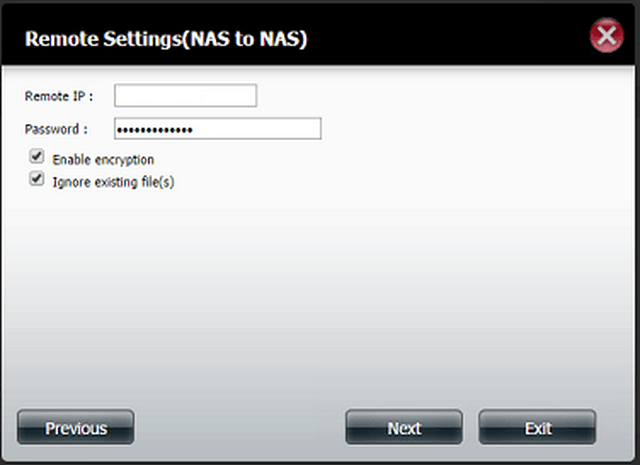
Remote IP: Here you will need to find the EXTERNAL IP for the router
Password: Enter the password used to log into the REMOTE NAS
Enable encryption: Select here
Ignore existing file(s): Select here
Click “Next”
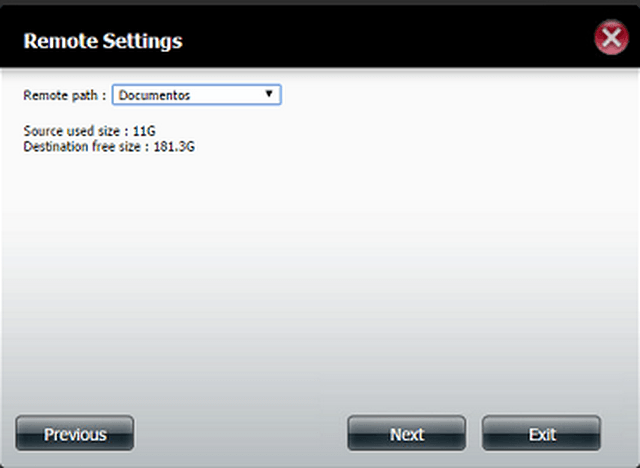
Remote path: Select the folder on the REMOTE NAS to backup to
Click “Next”
Step 7 – Schedule Settings – You are able to select from either of the following:
• Manual
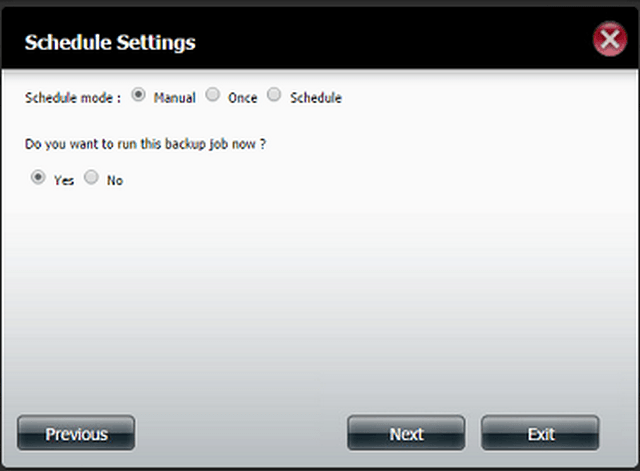
Click “Next”
• Once
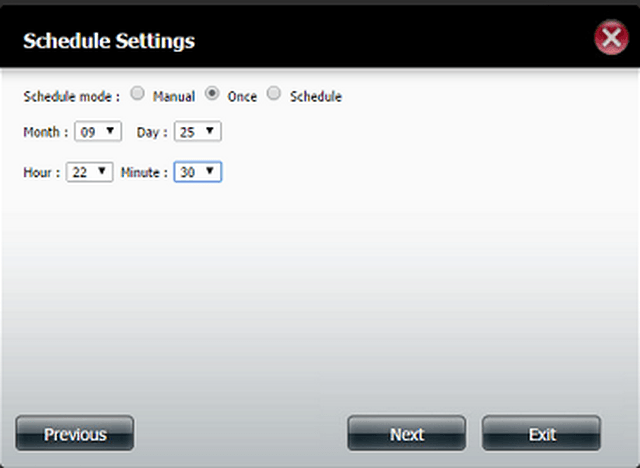
Month: 09 Day: 25
Hour: 22 Minute: 30
Click “Next”
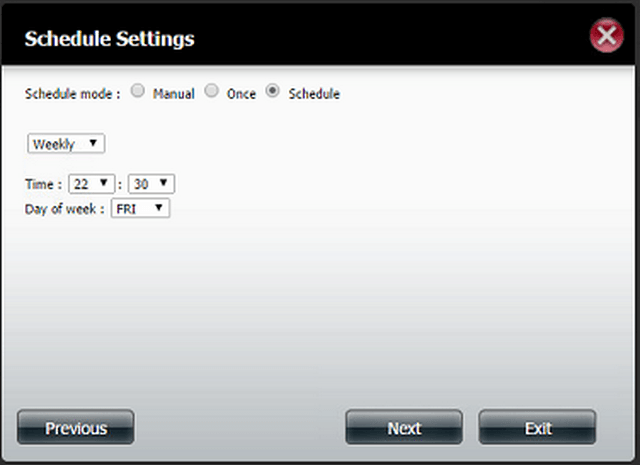
• Schedule
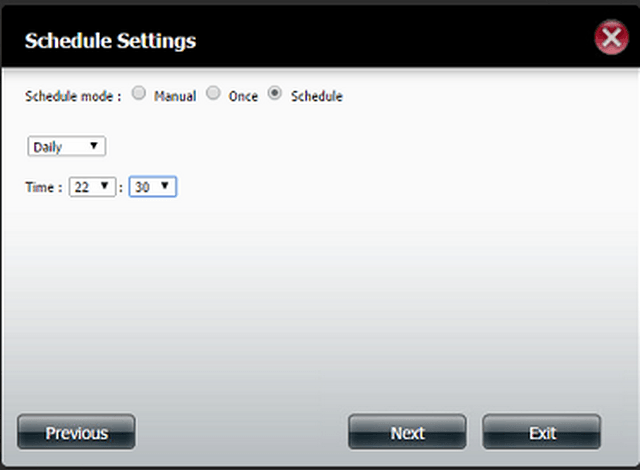
Click “Next”
Click “Next”

Click “Next”
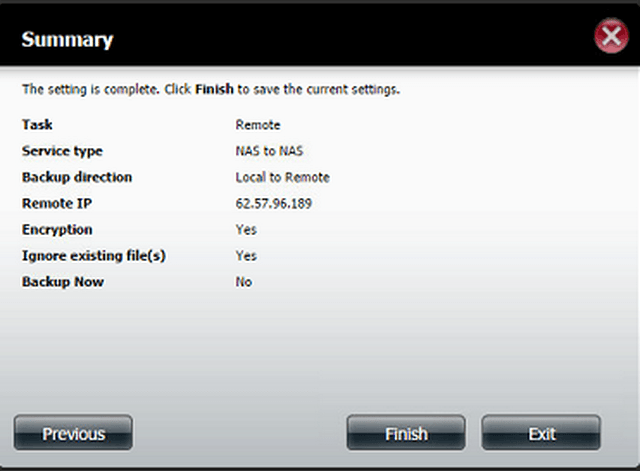
Click “Finish” to see the backup schedule created as below
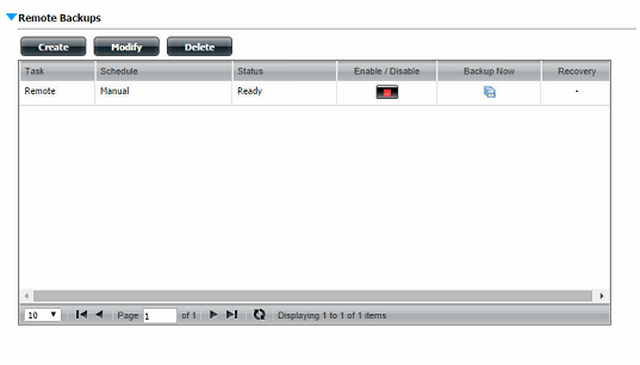
Step 8 – If the backup has not been started you may click upon the icon under “Backup Now” where you should see the “Status” percentage appear until backup has completed
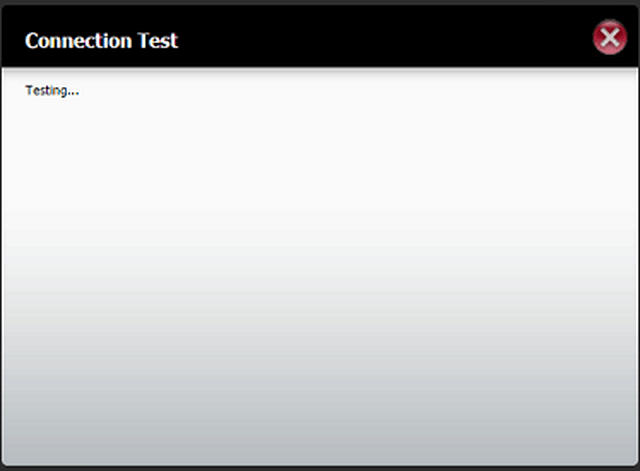
NB: If you see the following screen, this means you have not setup the correctly; port forwarding rule in the router or password isn’t correct:
These may also help:
- How to add a Second Hard Drive to your DNS? Read Answer
- How to setup a local Backup Internal - DNS-320L? Read Answer
- How to connect to DNS-320 via webdav in MAC OS X? Read Answer
- How to connect to DNS-320 via webdav in Windows? Read Answer
- How do I know if a drive has failed on my DNS-320/321/323/325? Read Answer
- How do I restore my RAID1 settings if a drive has failed on my DNS-320/321/323/325? Read Answer