
How to add a Second Hard Drive to your DNS?
NOTE – When inserting a new HDD to your DNS, you may insert it when powered on or when it is off and then power on the device
Step 1 – Open a web browser and enter the IP of your device.
IE:

Google Chrome:

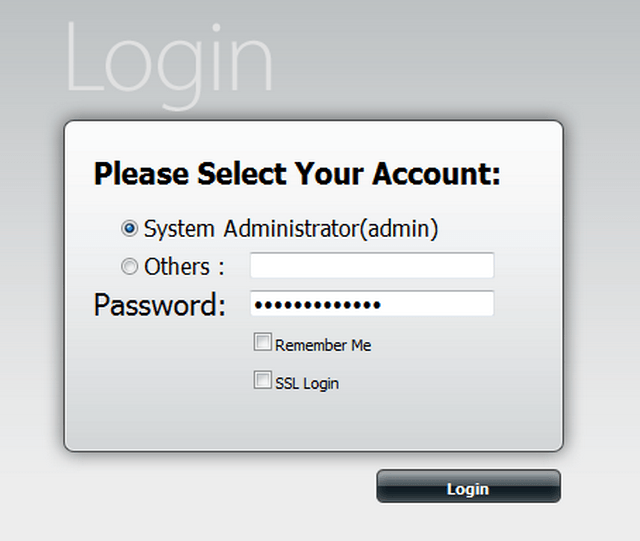
Step 2 – Login into the DNS using your credentials
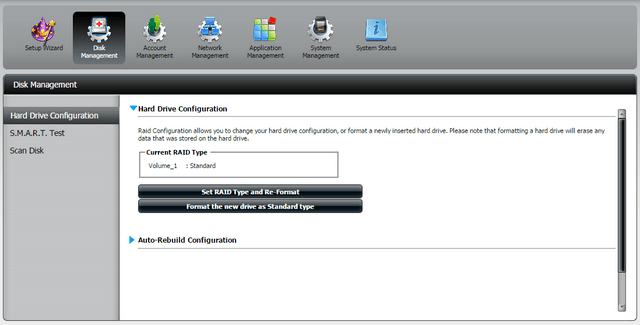
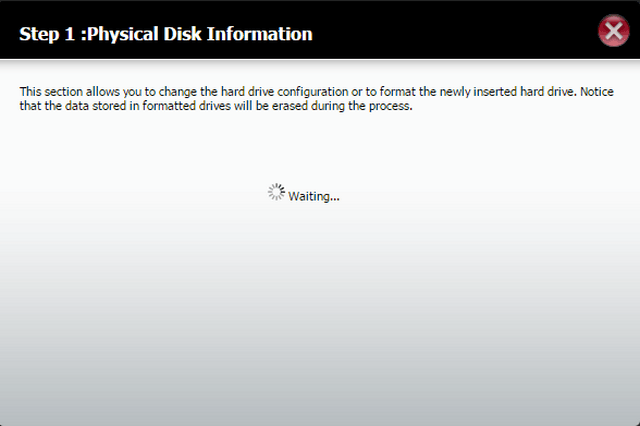
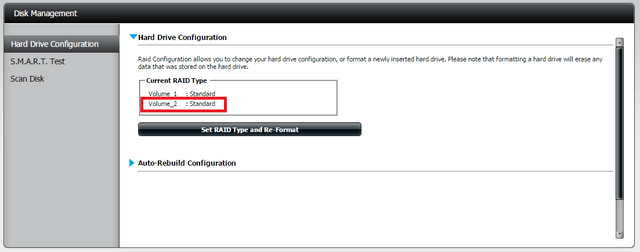
Step 3 – Once inside the Web GUI, you will notice that it will automatically default to “Hard Drive Configuration” and you will see “Format the new drive as Standard type”, click it to begin the process of formatting.
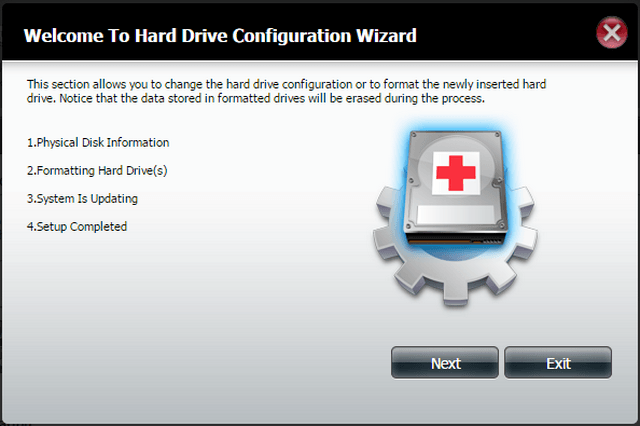
Step 4 – Click “Next”
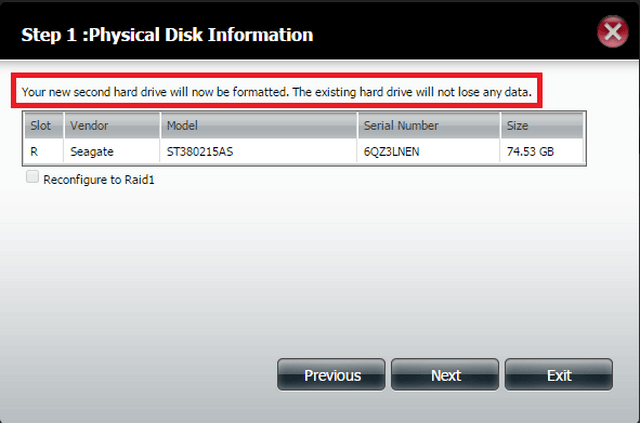
Please note at this stage your existing HDD will not lose any data
Step 5 – Click “Next”
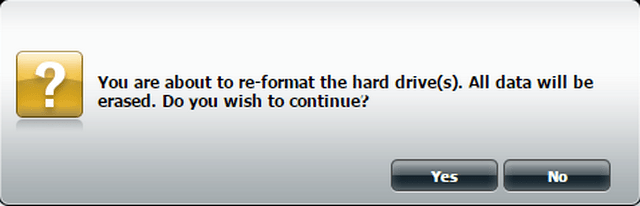
Step 6 – Click “Yes” to accept this and continue with formatting
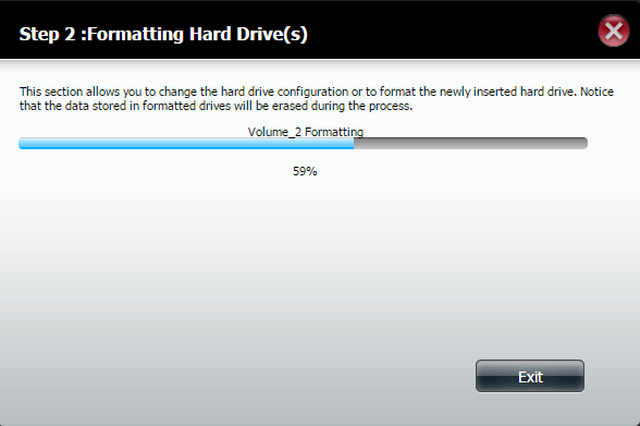
Please wait until the above process has reached 100%
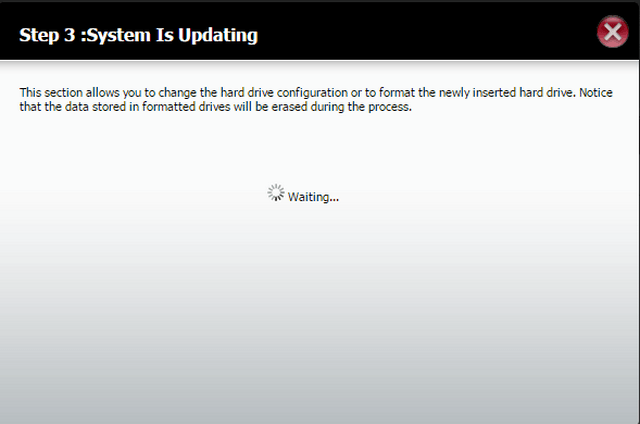
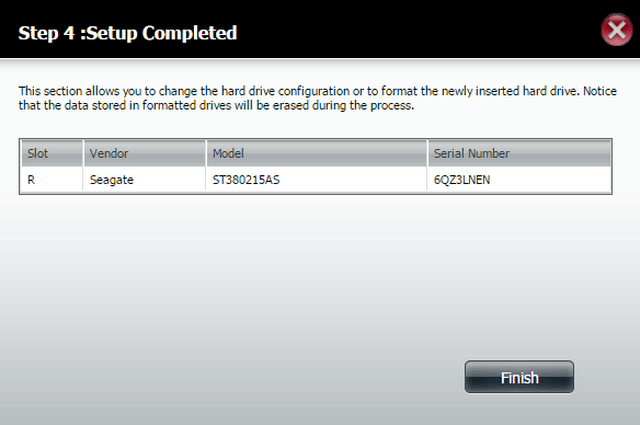
Step 7 – Click “Finish”
Your new HDD has been formatted with success and ready to use.
These may also help:
- How to setup a local Backup Internal - DNS-320L? Read Answer
- How to connect to DNS-320 via webdav in MAC OS X? Read Answer
- How to connect to DNS-320 via webdav in Windows? Read Answer
- How to Remote Backup Local NAS to Remote NAS - DNS-320, DNS-320L / DNS-320L to DNS-320? Read Answer