
How to Install D-View 7
Step 1 – Download the software from our website: dview7 download
Step 2 – Double-click the installation .exe
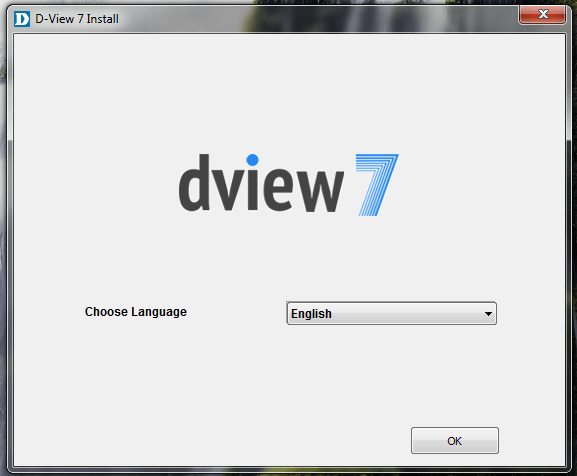
Select language then click “Ok”

Click “Start Installation”
Step 3 – Environment checks – If ALL checks are ok you should see as below screen

Click “Next” and go to Step 4
Step 3a – Configuring the Installation Environment
If in the event you get the screen below, click “Configuring the Installation Environment” to allow the software to compete the missing components


Once complete go to Step 3
Step 4 – Install MongoDB – Select “Install a new MongoDB” – If you have an existing MongoDB, you may use the second option. In our example, this is a clean installation

Click “Next”
Step 5 – Select where you would like to install MongoDB – In our example, we have chosen C:\

Click “Next”
Step 6 – Installing MongoDB


Click “Next”
Step 7 – Accept the “License Agreement”

Click “Next”
Step 8 – Enter Web Configuration details – In our example, we have use the same IP as the local Probe Address

Click “Next”
Step 9 – Select the start menu folder – In our example, we have given as default “D-View 7”

Click “Install”
Step 10 – Installing in progress


Click “Next”
Step 11 – Installation complete

Click “Finish”
Step 12 – Open the “Probe Settings” and make sure the “Service Status” shows “Running” – If not, then click “Start"

Step 13 – Open “D-View 7” on the start menu – It should open a web browser and show the following login screen

Login Details (default):
Username (email address): admin
Password: admin
Click “Login”
Step 14 – Dashboard as per below
