
How to Setup Captive Portal and Passcodes CWM-100
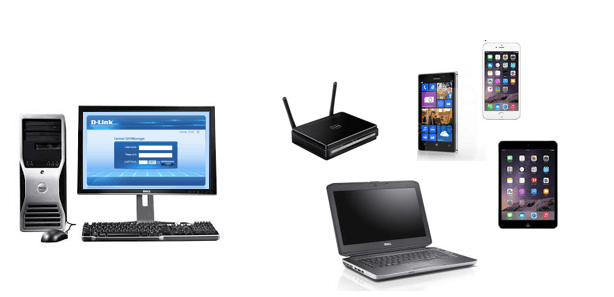
Topology Used:
Software and Firmware Used:
CWM-100 Software: Central WifiManager v1.02r0068.exe
DAP-2310 HW:B1 – Firmware: DAP2310B-firmware-v206-rc029.bin
AP Installation Tool: AP Installation tool.exe
AP Module: CWM_DAP2310B v2.06-R25-FWv206rc028.exe
Link to the above software:
http://www.dlink.com/
OS and Browser Compatibility:
Windows 7, Windows Server 2008R2 and Windows Server 2012R2
IE11, Firefox and Sarfari
As this document will be published on our site, it is also recommended at the time to check if newer releases of software and firmware have be published on our site.
Download the above to a folder (for example CWM-100). Once the above has been downloaded to your PC or USB storage, then proceed with the following:
Step 1 – Installing CMW-100
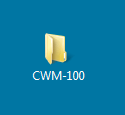
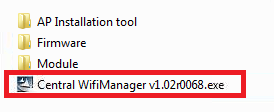
Open the folder created with ALL the necessary software and double-click on
Central WifiManager v1.02r0068.exe
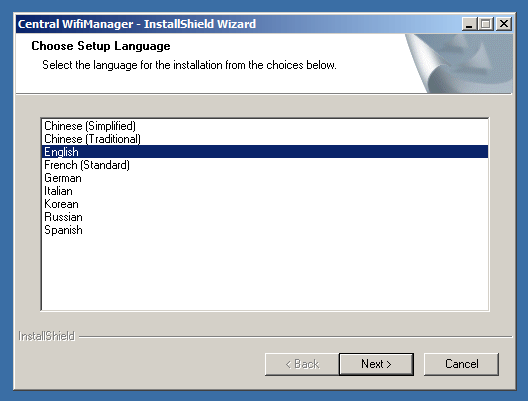
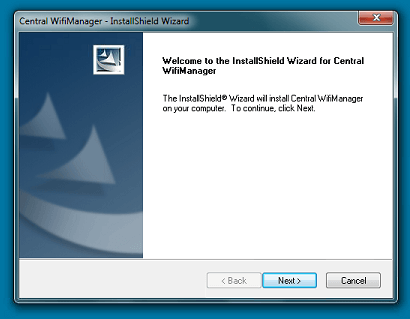
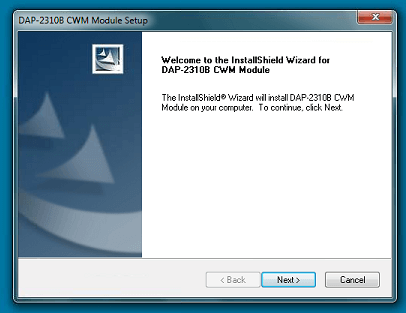
Click “Next”
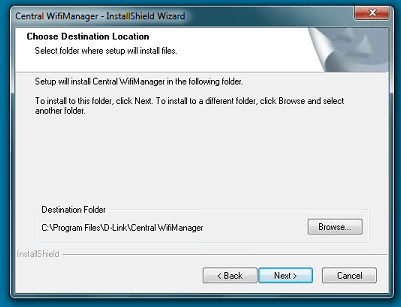
Click “Next”
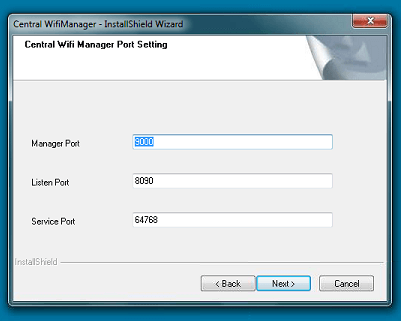
Click “Next”
Click “Next”
Make sure the IP you put here is the same as the LAN IP of the PC you are installing CWM-100
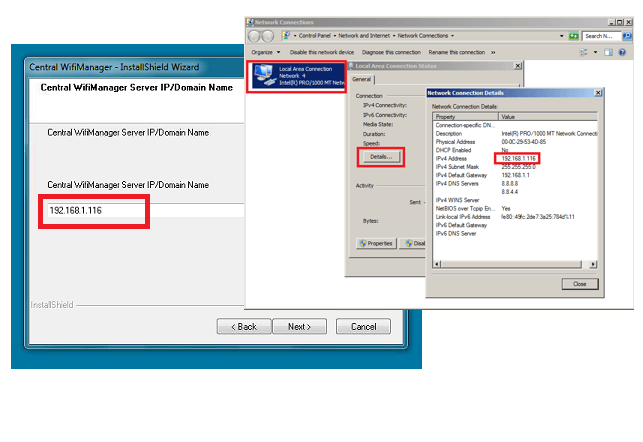
Click “Next”
Enter the password you will need at login to enter the web interface of CWM-100 in Step 5
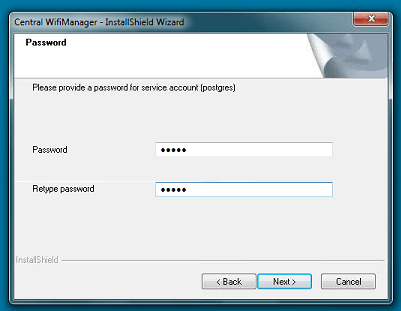
Click “Next”
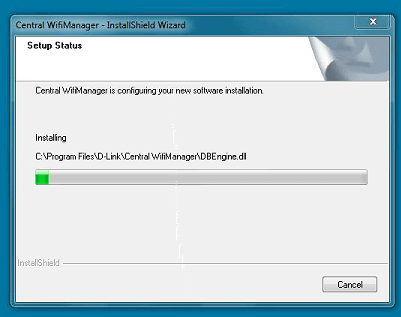
Click “Install”
Click “Next”
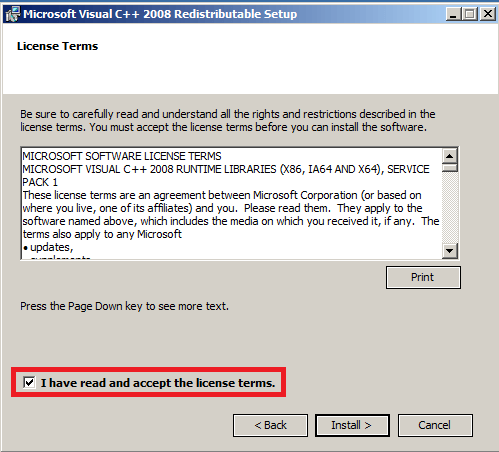
Click to accept then “Install”
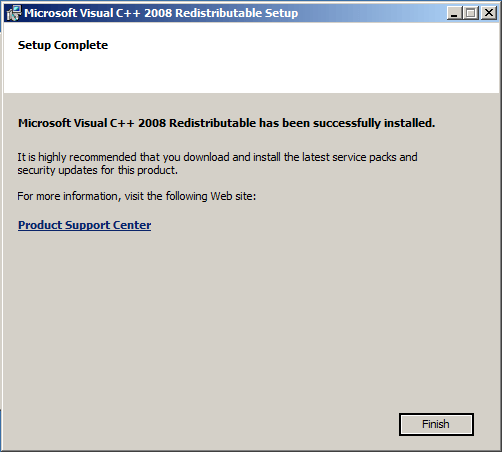
Click “Finish”
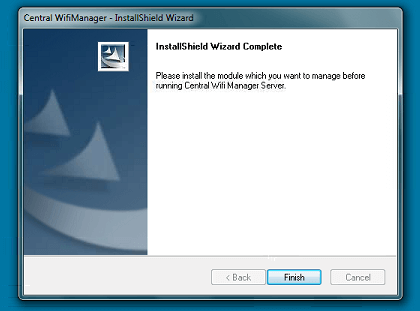
Click “Finish”
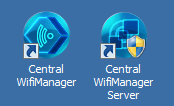
You should have the following desktop icons available
Step 2 – Upgrading the DAP-2310B1 firmware. You will need to login to the Web-GUI interface of the access-point and upgrade the firmware with the following firmware:
DAP2310B-firmware-v206-rc029.bin (Check firmware according to your AP)
Note: Hard Reset the Access-Point, before continuing (Press and hold button 10-15 seconds)
Step 3 – Install the AP Module. In this example, we are installing module for DAP-2310B1 – You will need to install the module that complies your DAP and is supported under CWM-100
CWM_DAP2310B v2.06-R25-FWv206rc028.exe
Click “Next”
Click “Finish”
Step 4 – Start the CWM-100 Server by double-clicking on “Central WifiManager Server”. You will notice the bottom right-hand corner the red icon meaning the server is not running.
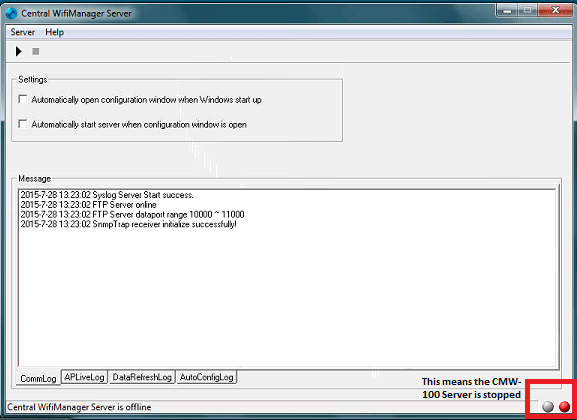
Click the arrow icon to “Start” and also select “Automatically start when configuration window start up”
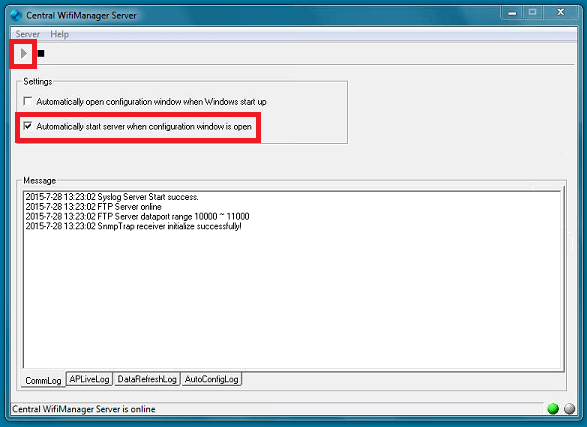
Once you see the “Green” icon, you now may minimize the WiFiManager Server to tray
![]()
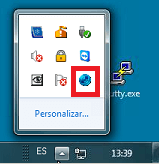
Here you will see the the icon for WiFiManager Server
Step 5 – Enter the Web Interface for the “Central WiFiManger” by clicking on the desktop icon


Click “Continue to this website (not recommended)”
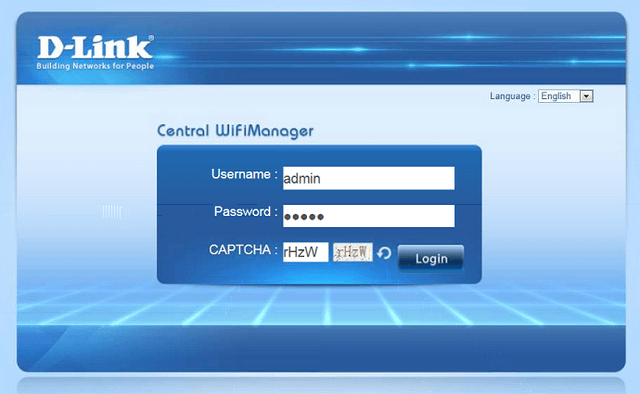
Click “Login”
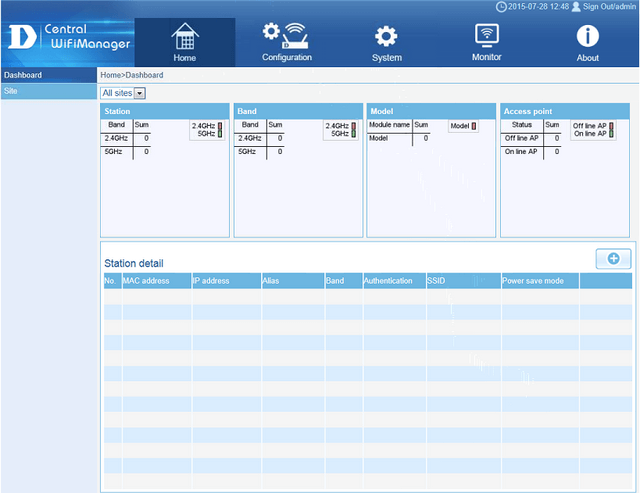
You should see the following screen “Home” tab
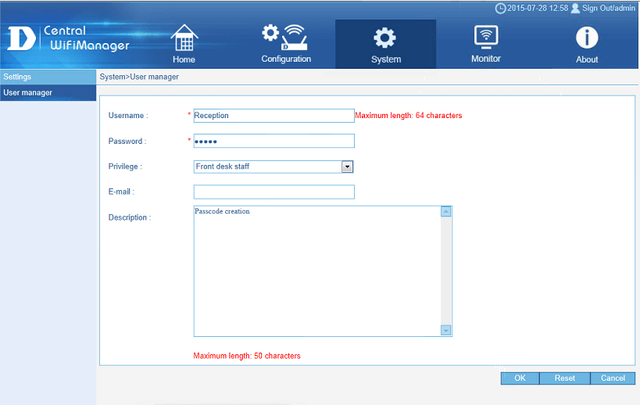
Step 6 – Create a user to create passcodes. To do this, click on System > User manager
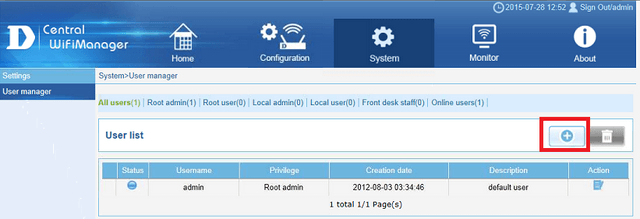
Click the (+) sign to add a new user, in this scenario we have selected “Front desk staff”. This user will only be able to create passcodes.
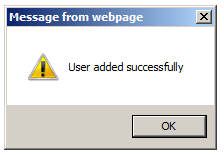
Click “OK”
Click “OK”
Step 7 – Create a new “Site”. To do this click on “Configuration”
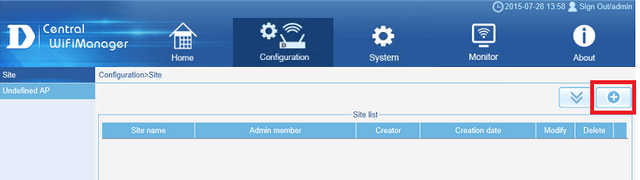
Click “Create Site”
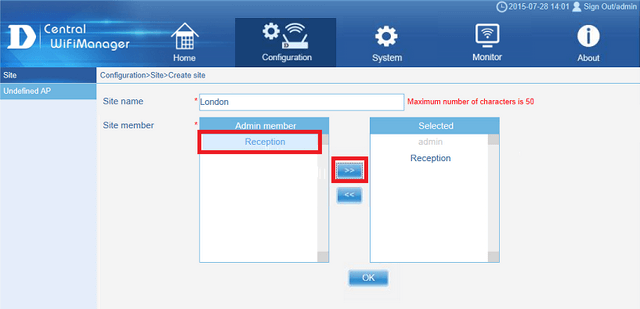
Enter a “Site Name” – We have used London and also added the user “Reception” to the “Site member” list. You need to do this, because this user was setup to create the Passcodes and will be used to create them for this site and network.
Click “OK”
Step 8 – Create a new “Network”. To do this click on the (+) next to the new site
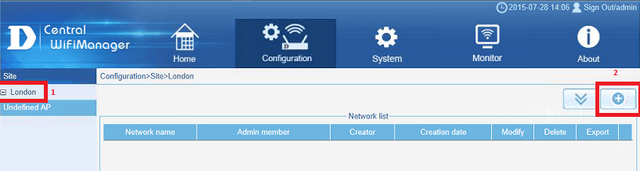
Then click the (+) symbol to “Create network”
Again, also add the user “Reception” to the “Site member” list.
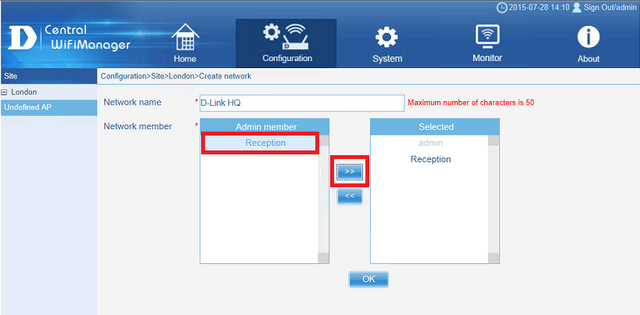
Click “OK”
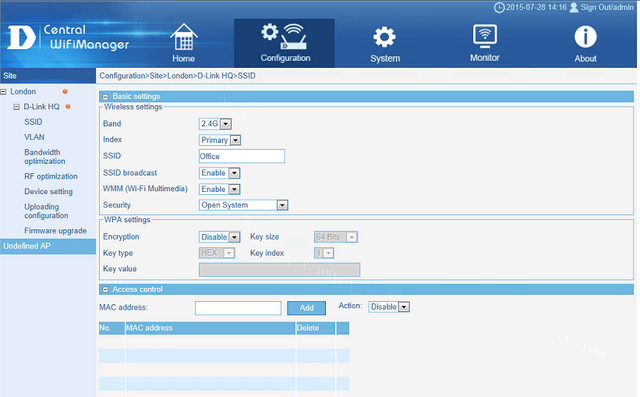
Step 9 – Create SSID. To do this click on the (+) sign next to the network name to reveal all configuration features
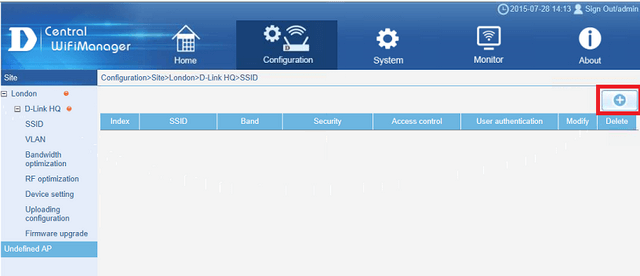
Click “Create SSID”
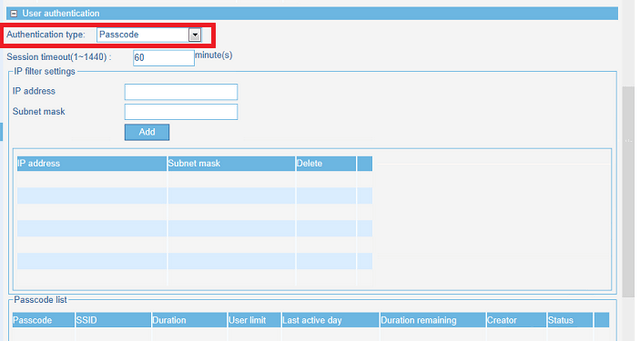
Scroll down and select “Passcode” for “Authentication Type”
Scroll down and you may re-direct users to a website (optional)
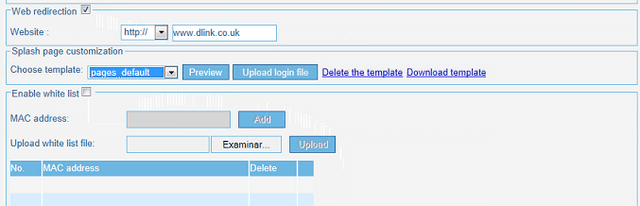
We have used http://www.dlink.co.uk
You will need to “Choose template” – We have selected “pages_default”
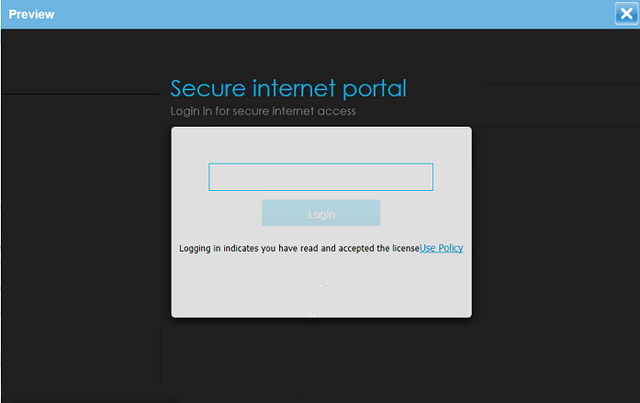
If you wish to see what it will look like you can click “Preview”
Click the “X” at top right-hand corner to close
Then click “Save”
Step 10 – Export Configuration (.dat). This will be the file that will be used to upload directly to the DAP-2310B1 access-point. To do this, minimize the tree structure until you get to the “Site”
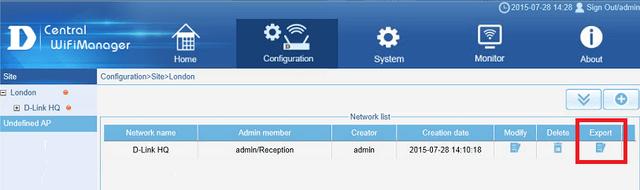
Click “Export” icon
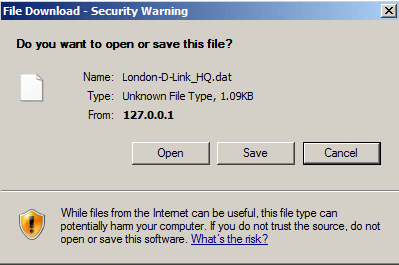
Click “Save”
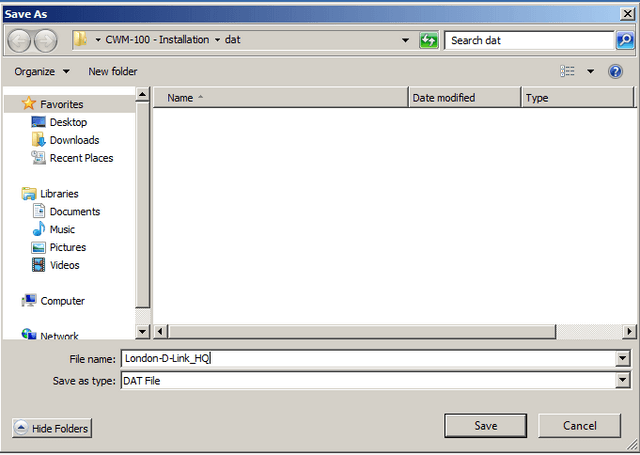
Select to save to and then click “Save”
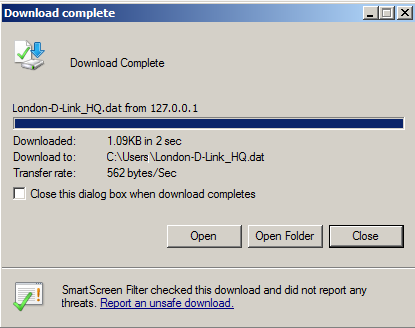
Click “Close”
Step 11 – Upload configuration file (London-Dlink_HQ.dat) to the DAP-2310B1. To do this, you will need to run the AP Installation Tool.exe
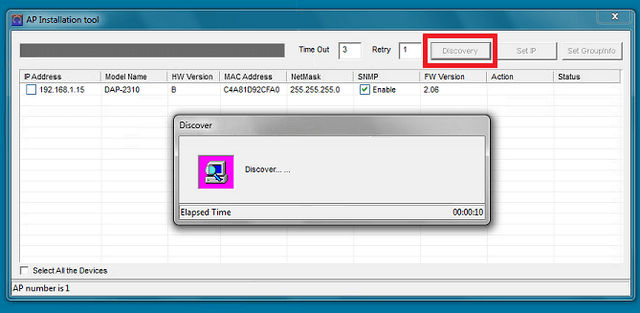
Click the “Discovery” button to find the access-point(s) you would like to manage. In our example, we have only one.
Step 12 – Set the IP address of the AP within your LAN subnet. We have changed our example from 192.168.0.50 to 192.168.1.15 – To do this select the AP and then click “Set IP”
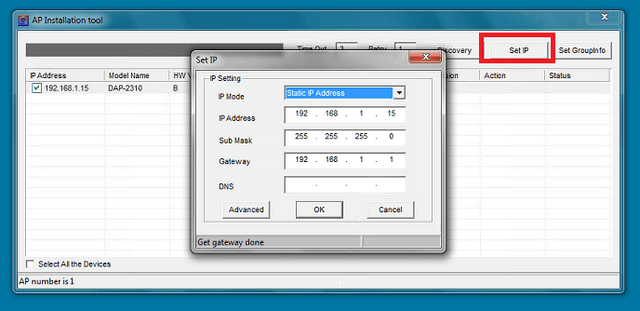
You may also set to “Dynamic IP Address” if desired. We have chosen “Static IP Address”. We have left the DNS server as blank. Once set, click “OK”
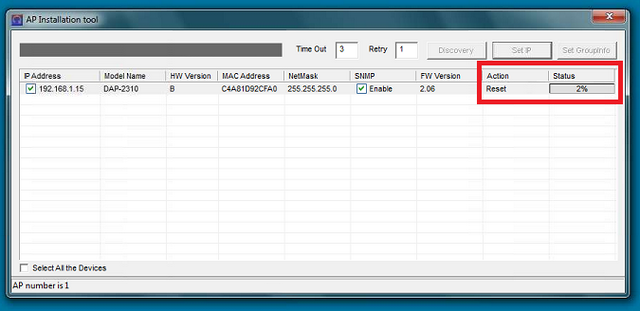
Wait until “Status” shows “OK”
Step 13 – Upload the .dat configuration file. To do this, select the AP then select “Set Groupinfo”
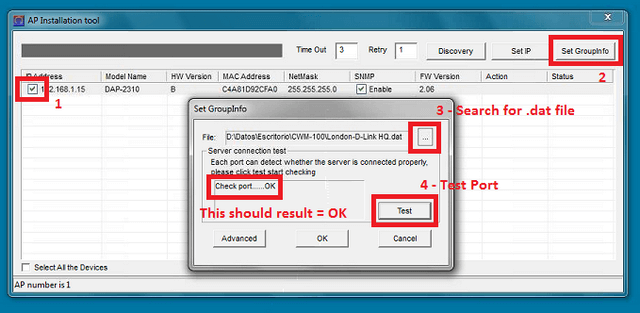
Once complete, click “OK”
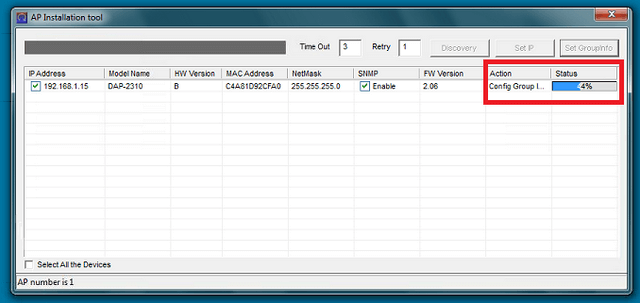
Wait until “Status” shows “OK”
Step 14 – Generate “Passcodes” for WiFi users. To do this, double-click on the Central WiFiManager and login as the user created in Step 6 – In our example it was “Reception”
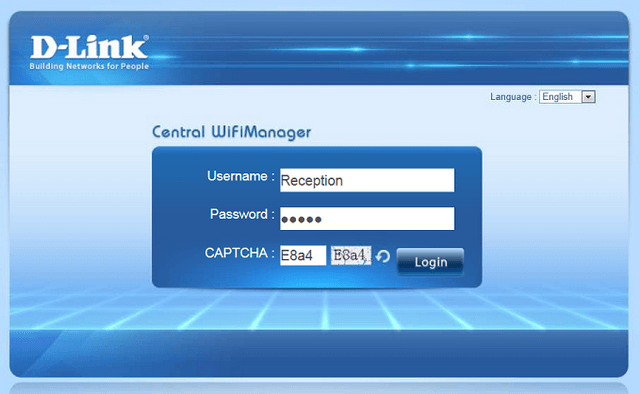
Click “Login”
Select the SSID – In our example it was “Office” – Our setup was as follows:
SSID: Office
Passcode quantity: 10
Duration: 1 (Hours)
Last active day: 2015-07-31 (click here to show a calendar)
User Limit: 10
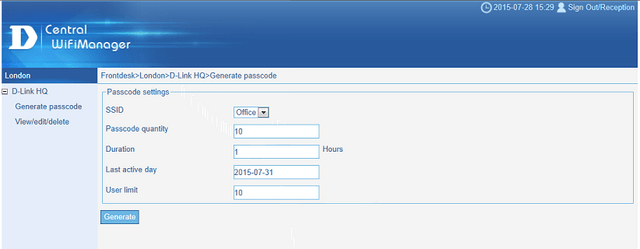
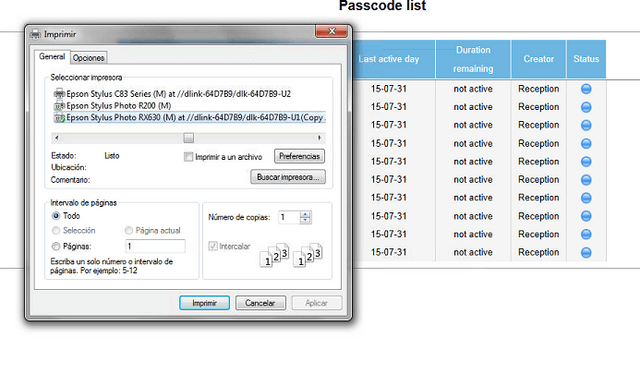
Click “Generate”
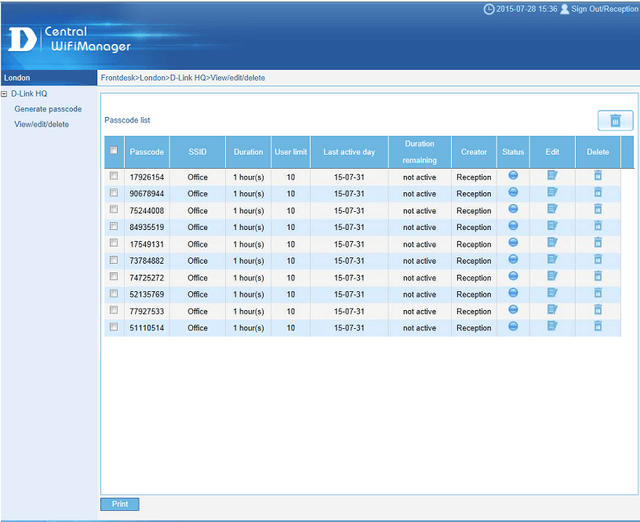
The above list can also be printed if there is on-line printer by clicking “Print”
Sign out of this user – In our example it is “Reception” and then log back into “admin” user

Step 15 – Upload the configuration. To do this, you will need to login to admin user and select the SSID
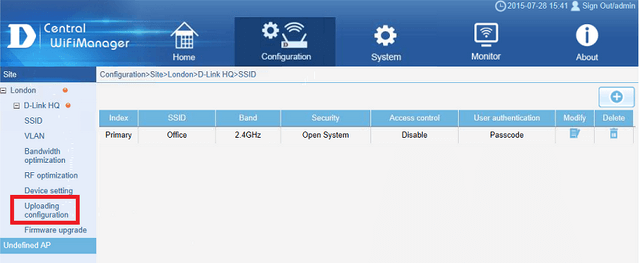
Click “Uploading configuration”
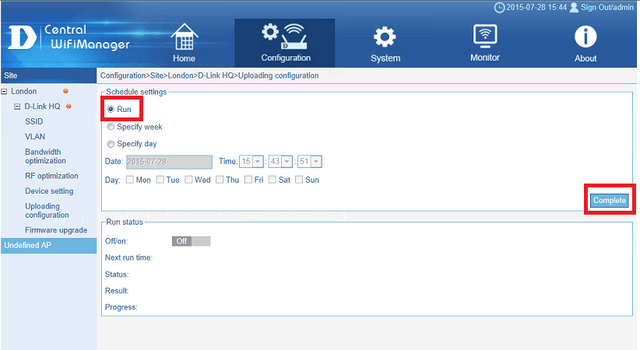
Select “Run” (if not already) and then click “Complete”
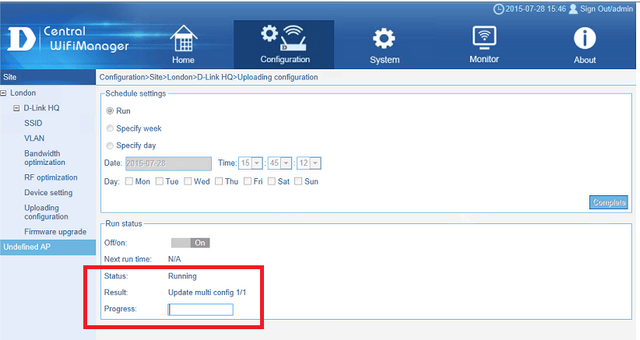
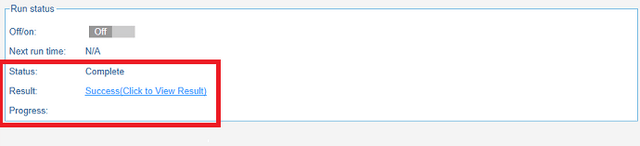
The progress will go through a phase of; Updating and then Rebooting. Please wait until “Status” shows “Complete” and “Success (Click to View Results)”
Step 16 – Login to the Captive Portal. You will need to search for the SSID created in Step 9 – We have used a Nokia Lumia 925. Go to the WiFi Settings and search for the SSID
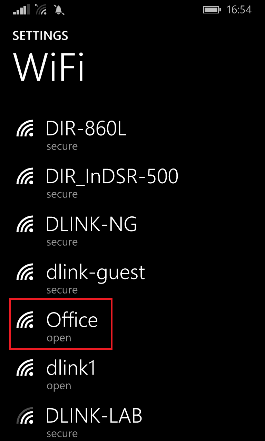
Tap the SSID you have used – We have used “Office” – Tap this to connect
When you open a web browser you should be present with the following “Secure internet portal” page – this was configured in Step 9
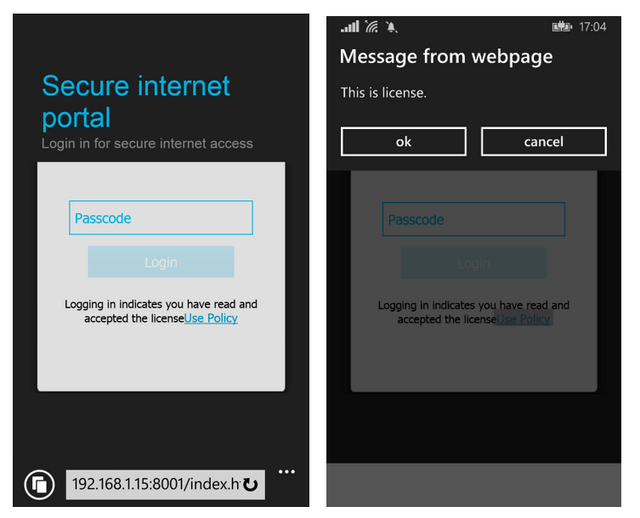
Click “Use Policy” and accept the message, then enter one of the passcodes that were generate in Step 14
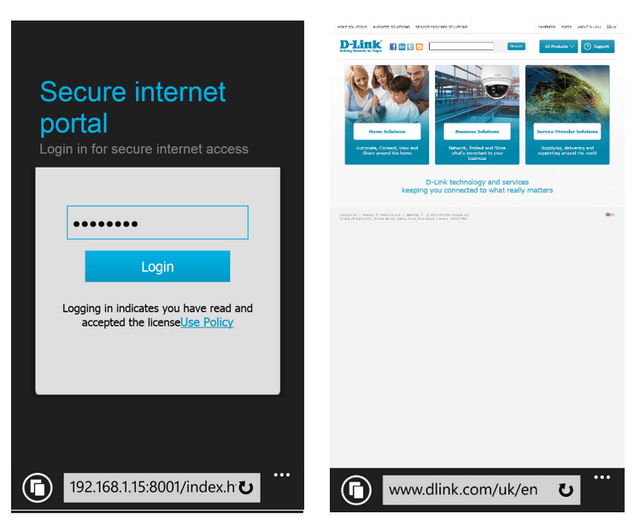
Enter the Passcode and once authenticated, you should be re-directed to a default website (if configured).
These may also help:
- How to Setup Multiple SSIDs and VLANs - CWM-100 Read Answer
- CWM-100 Installation Troubleshooting Read Answer