
How do I setup my DCS-935L on my Android device?
Prior to setting up this device, please ensure you disable any mobile data you may have on your device. You can re-enable this after the setup.
Step 1 – If you have not already done so, download the latest version of the “mydlink Home” app from the Google Play Store.
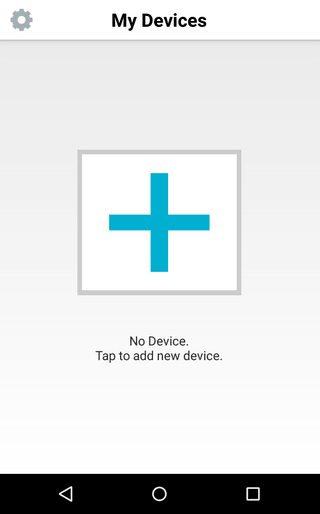
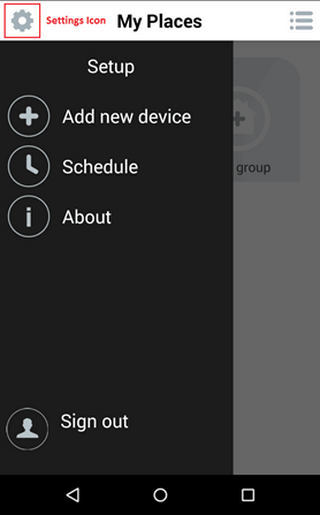
Step 2 – Once the app has loaded, if you have not yet setup any mydlink Home device, you can either tap the “+” icon or tap on the Settings icon (cog) in the top left-hand corner, then tap “Add new device”.
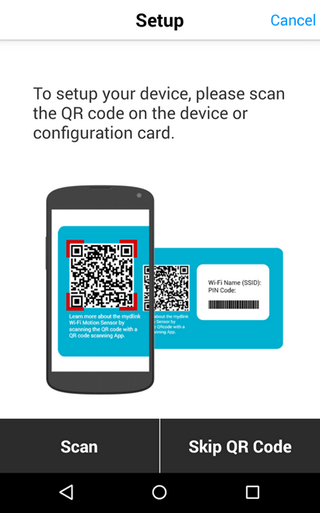
Step 3 – The app will then give you the option of scanning the QR code on the card that came with the device. Tap “Scan”.
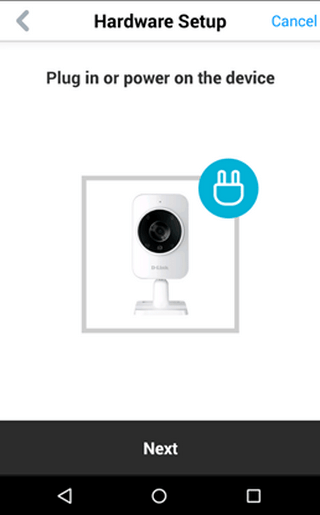
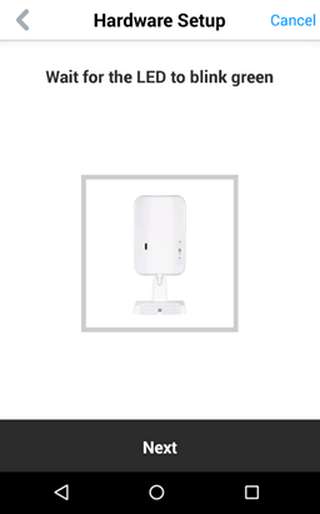
Step 4 – After scanning the QR code, the app will prompt you to plug in or power on the camera. Tap “Next” once done.
Step 5 – When you see the Power light flash green, click next.
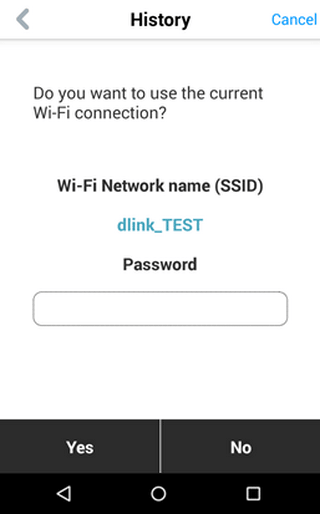
Step 6 – The app will then prompt you to connect the camera to a WiFi network. To connect the camera to the netowrk your Android device is currently connected to, simply input the password and tap “Yes”. If you want to connect the camera to a different network, tap “No” and select the correct network.
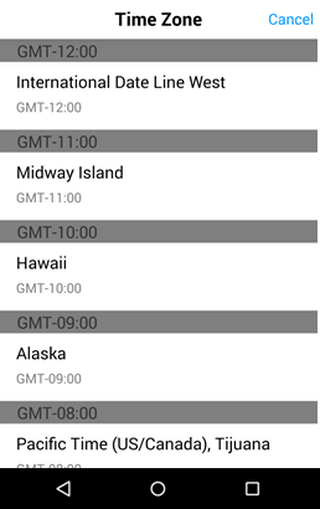
Step 7 – The app will then search for your camera.

Step 8 – Once the app has found your camera, it will prompt you to select the timezone for the camera.
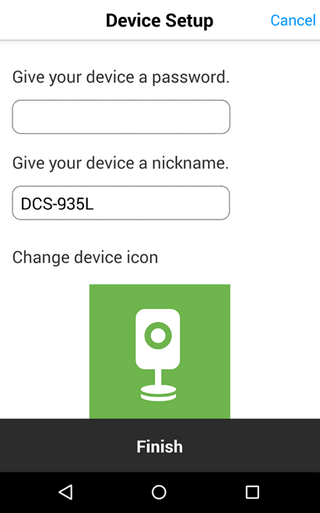
Step 9 – Once the timezone has been set, you will be prompted to provide a name for your device and a password. Tap finish once these have been set.
These may also help:
- How to configure motion detection in DCS-935L using an Android device Read Answer
- How do I configure sound detection on my DCS-935L using my Android device? Read Answer