
How do I configure QoS (Quality of Service)/ Traffic Control settings on my router?
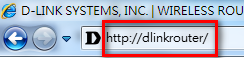
Step 1: Open your Internet browser and enter http://dlinkrouter, http://dlinkrouter.local, or http://192.168.0.1 into the address bar.
Step 2: The default username is Admin. Enter your administrator password. If you have not changed the default password, this field should be left blank. Click Login.

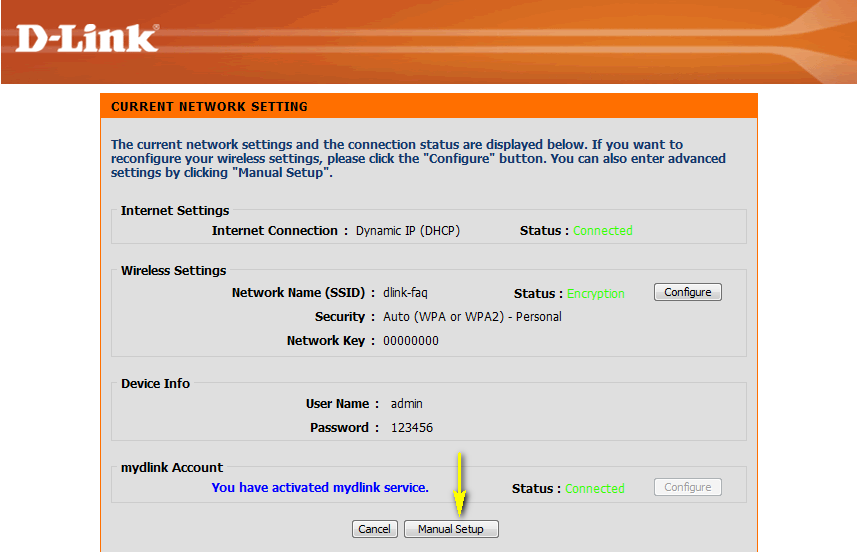
Step 3: Click Manual Setup.
Step 4: Click on the Advanced tab at the top of the page and then click Traffic Control from the menu on the left-hand side.
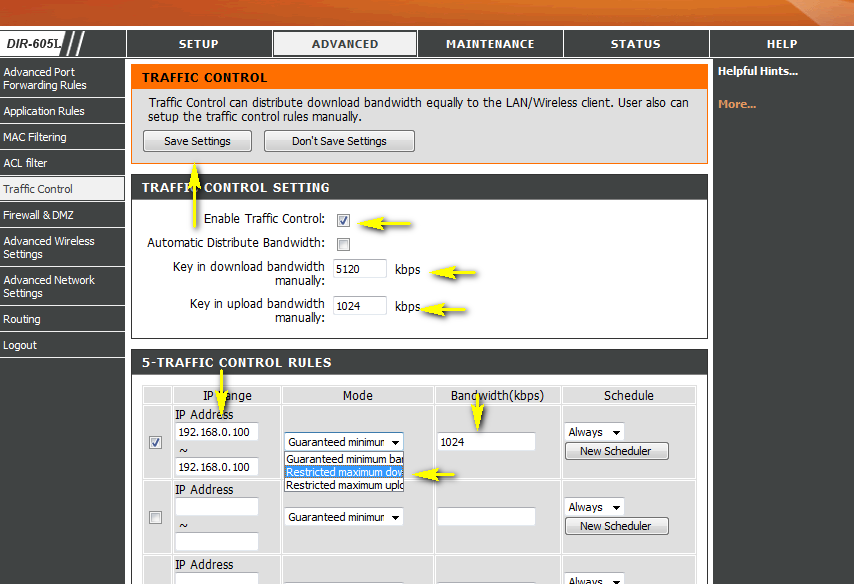
Step 5: Ensure the Enable Traffic Control box is checked.
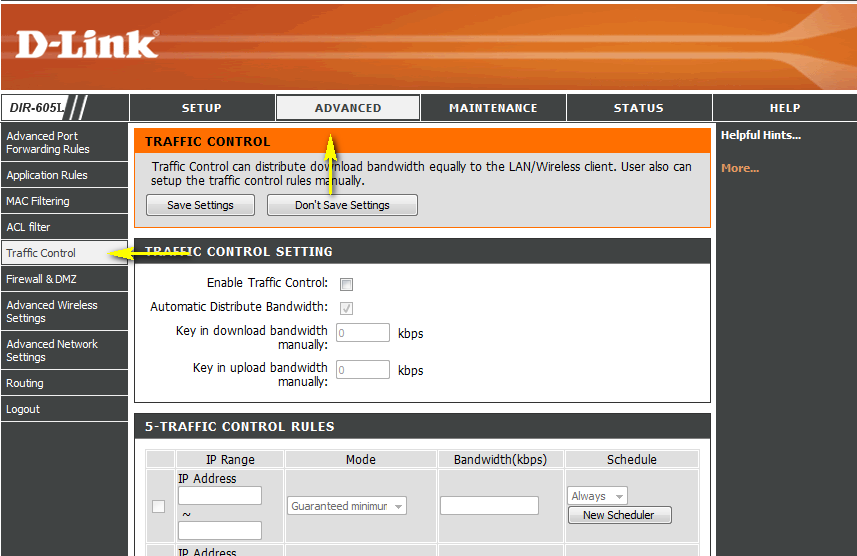
Step 6: If you wish to let the router automatically control network traffic, check the Automatic Distribute Bandwidth box. To manually control network traffic, enter the download Bandwidth and upload bandwidth values of your Internet connection in the appropriate fields. These are the speeds at which data can be transferred by your modem to (uplink) and from (downlink) your ISP (Internet Service Provider). This is set by your ISP and will depend on your service plan, and ISP’s network infrastructure. Most ISPs specify speeds in a downlink/uplink pair; for example, a 10M/2M connection has a downlink speed of 10M, and an uplink speed of 2M (1M = 1,024 Kbps).
To create a traffic control rule, check the box next to the rule to enable it. Enter the IP Address range for clients that you wish to apply the rule to. Select a control Mode from the drop-down menu, and enter a bandwidth value which applies to this rule. To permanently enable the rule, select Always from the drop down menu. To use a pre-defined schedule, select the schedule from the drop-down menu, or click New Schedule to create a new schedule.
Step 7: Click Save Settings when finished.