
How to Change the Default Folder and Record to a Mapped Drive – DCS-250
System Requirements:
• DCS-250 Installed
• Network Attached Storage Device (NAS) – Static IP
Step 1 – Once you have created a network share on your NAS – You will need to map to this drive on your Windows PC /Laptop
Step 2 – Click on “Start” then “Computer”
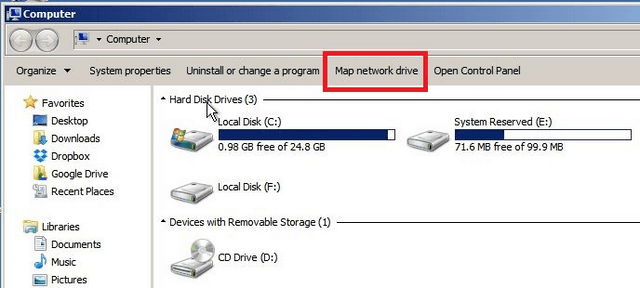
Step 3 – Select a “Drive” letter and then enter the root to the folder. In our example, we have a NAS on “192.168.1.119” with a network share in the name of “DCS-250”
Therefore the root will be: \\192.168.1.119\DCS-250
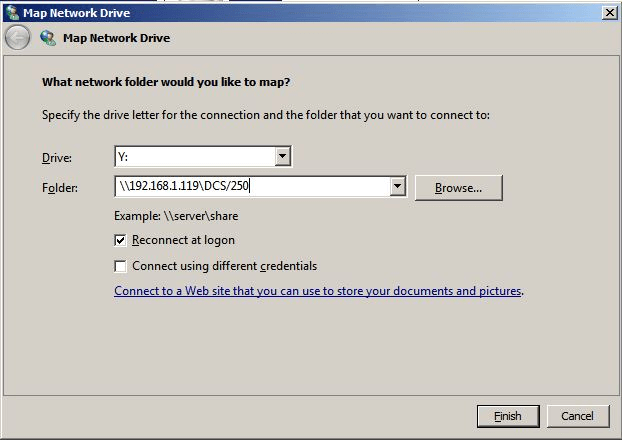
Click “Finish”
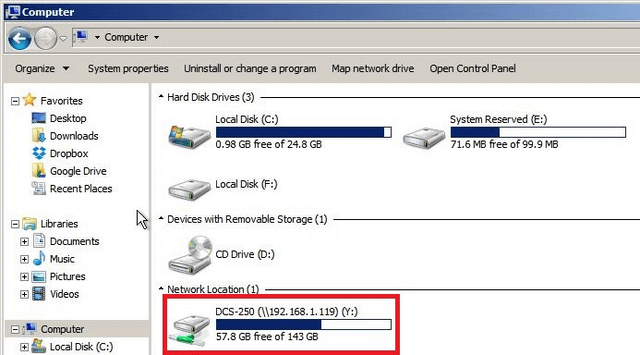
Step 4 – You should notice the following mapped drive created on your computer
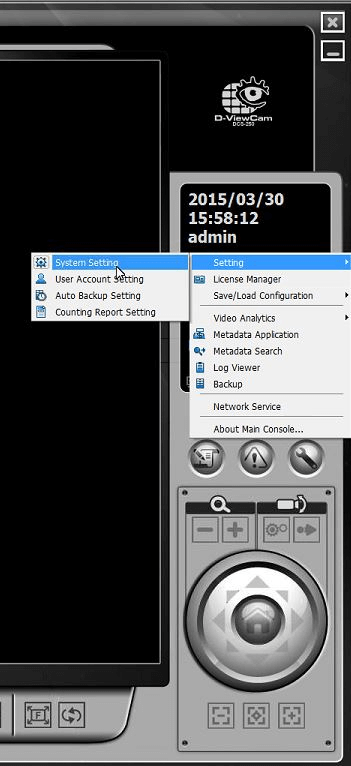
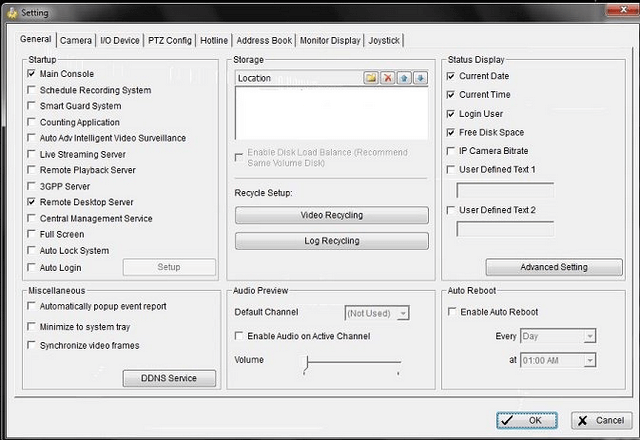
Step 5 – You will need to log into DCS-250 and go to “System Setting”. To do this click on the “Spanner icon”, “Setting” then “System Setting”
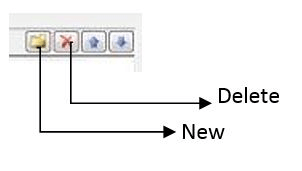
Step 6 – You should notice that DCS-250 creates a folder by default. To change this, click on “Delete” then “New”. Click on the search icon ![]() to search for the mapped drive created in Step 4
to search for the mapped drive created in Step 4
Step 7 – Once you have selected the mapped drive you should have the following
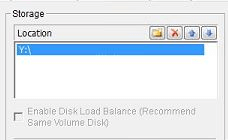
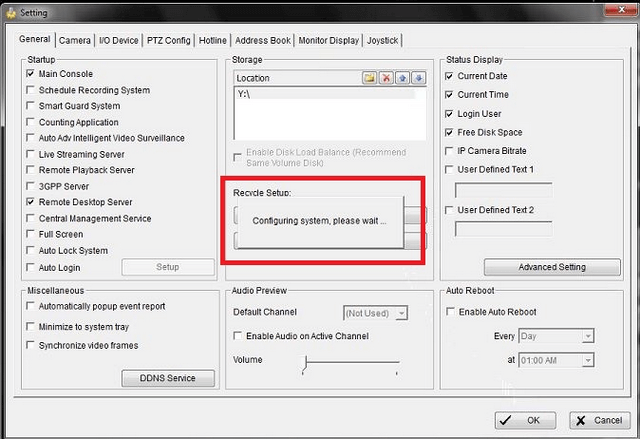
Click on “OK”
You will notice the following screen
Once complete, you will be returned to live view and ALL recordings will be default to
Y:\
Ceci peut également aider.
- Comment activer mes licences D-Viewcam en mode Off-Line ? Lire la réponse
- How to Auto Backup Settings with Email Alert – DCS-250 Lire la réponse
- How to Playback Recordings and Export – DCS-250 Lire la réponse
- How to Setup Event and Action – Tamper or Obscured View – DCS-250 Lire la réponse
- How to Setup Motion Detection – DCS-250 Lire la réponse