
How to recover my DSR 250V2 from tftp
Topology:port DSR-250V2 LAN-------PC
Setup Steps:
1. DSR250V2 Upgrade Procedure from Bootloader first.
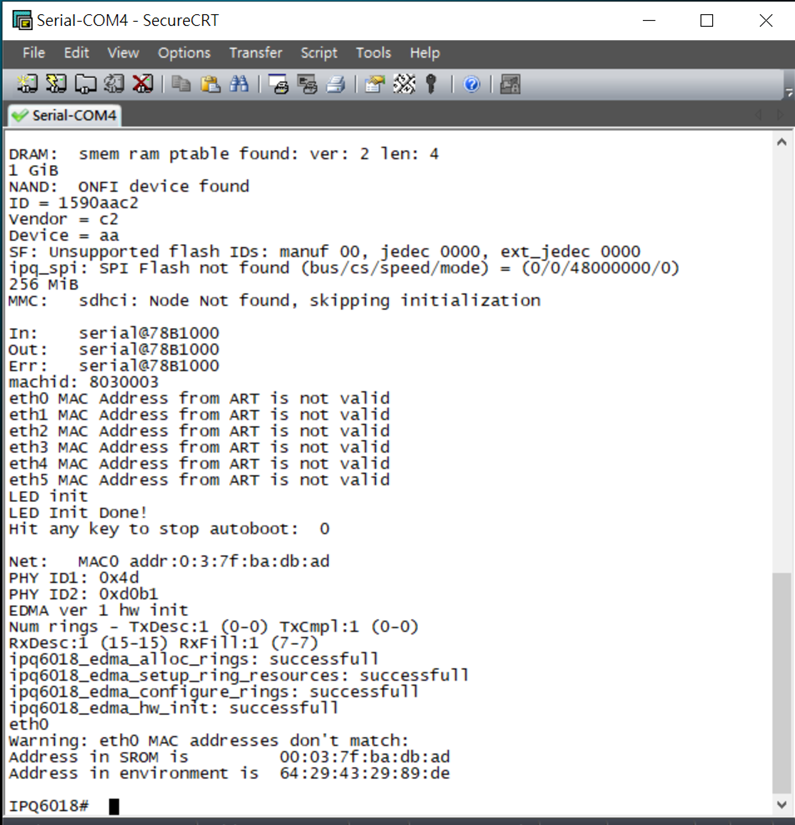
1.1 PC use SecureCRT to connect to DSR-250V2 LAN1 and Power on into Bootloader via LAN. (press “space” when turn on device)
2. Tftp server: use tftp64 to setup for connection
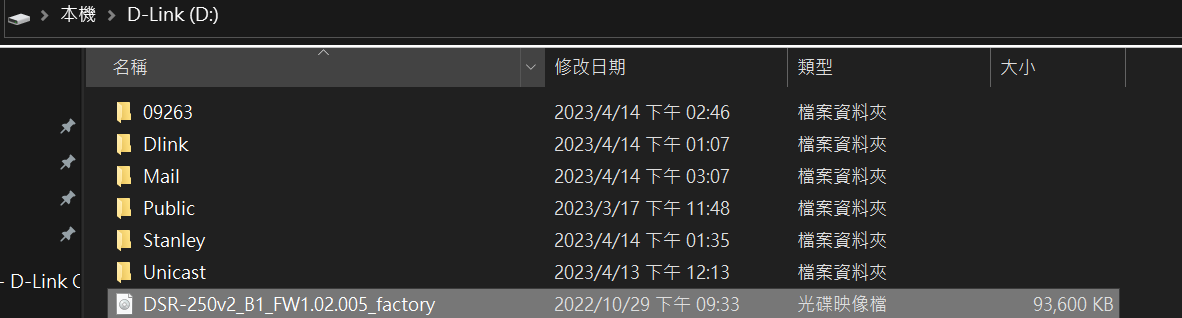
2.1 Put the file: “DSR-250v2_B1_FW1.02.005_factory” in D:\ in your PC
2.2 Below is by used Tftpd64 which can be downloaded from Internet first.
Select Current Directory in D:\ to match your file in PC local location.
Select for LAN interface, and record this tftp IP address

3. Router update procedure for DSR-250V2 HW:B1 FW: 1.02.B005
Note: upload version: HW:B1 FW: DSR-250v2_B1_FW1.02.005_factory
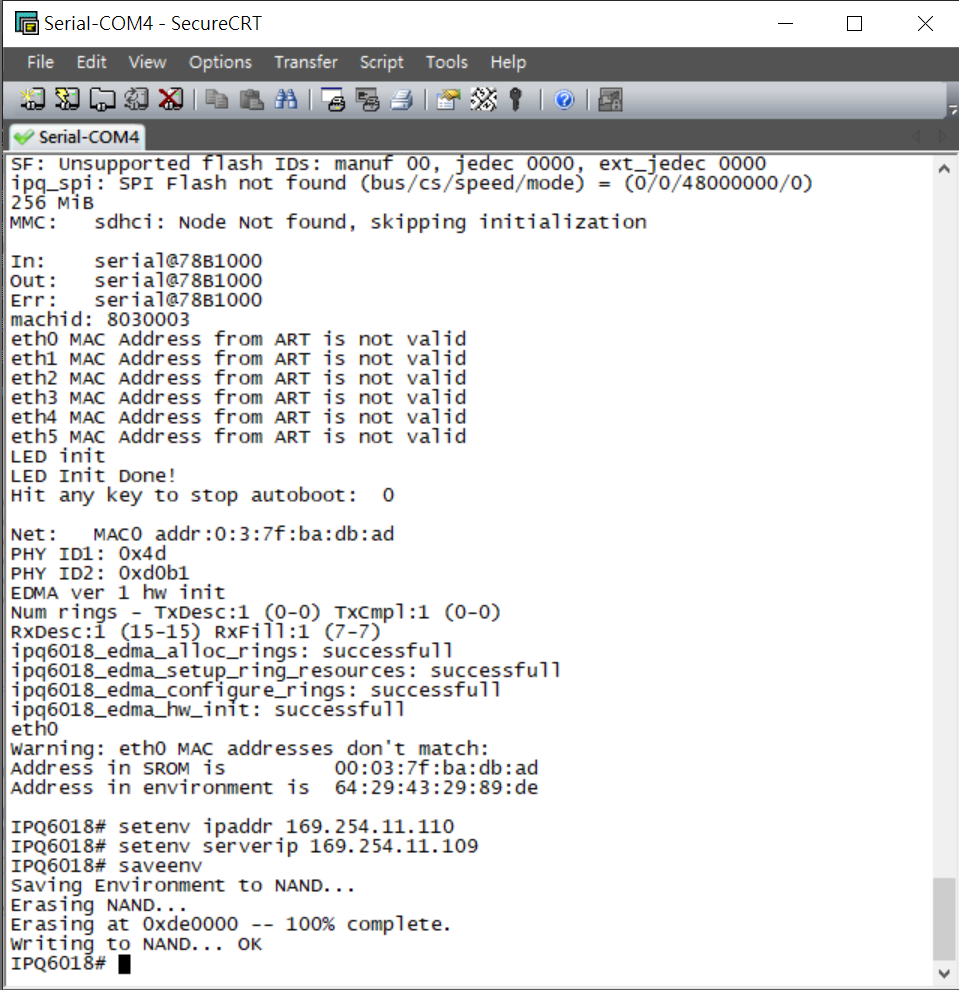
3.1 Execute the following commands to set server and device IP in LAN,
before starting the upgrade:
- setenv ipaddr <<device-ip-address>>
(ex: set up 169.254.11.110 due to tftp IP is 169.254.11.109)
- setenv serverip <<server-ip-address>>
(ex: for this case: 169.254.11.109)
- saveenv
Please refer to the screenshot below.
3.2 Ping the Server IP from Bootloader to test the server reachability.
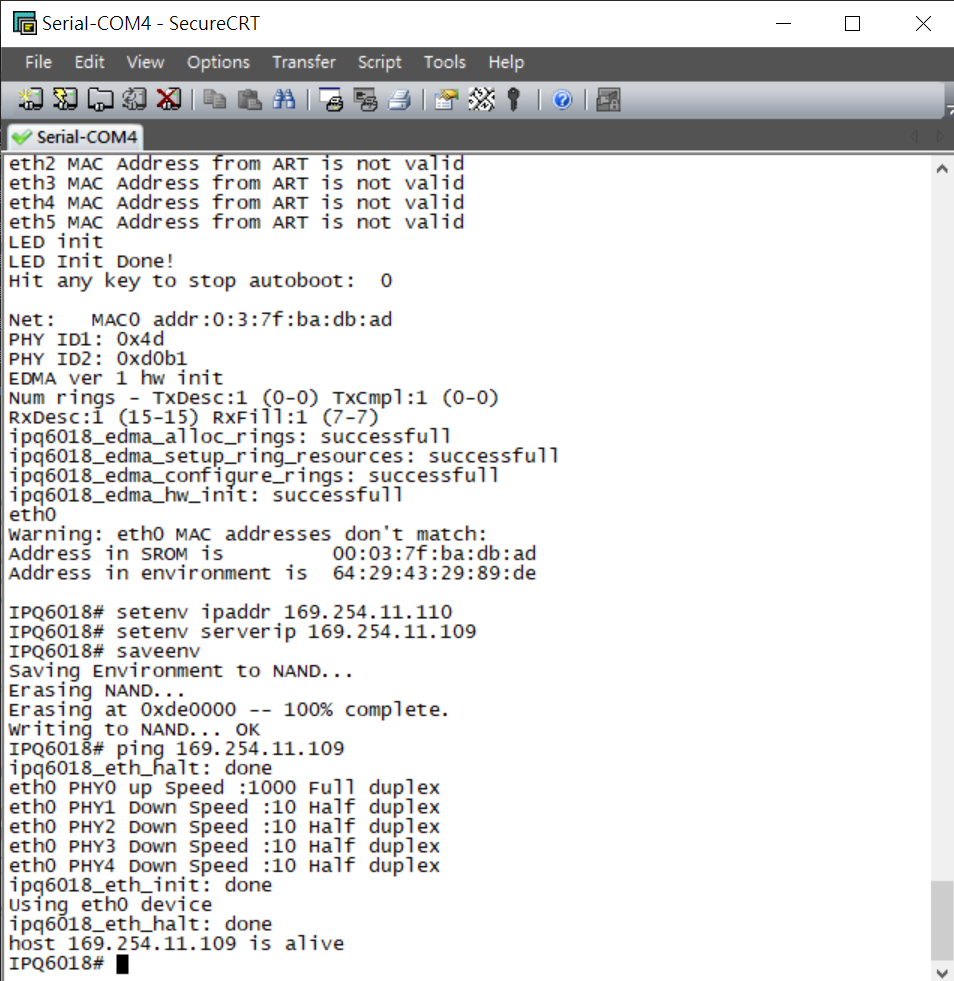
Note: If Ping can not access, please disable the firewall first.
3.3 Now execute the below commands to upgrade the device to new firmware:
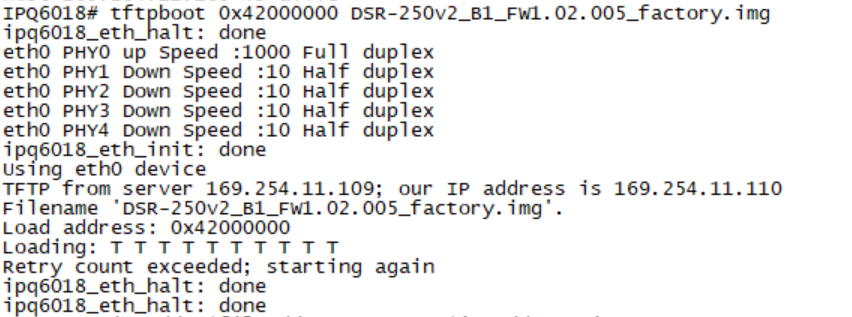
-tftpboot 0x42000000 DSR-250v2_B1_FW1.02.005_factory.img
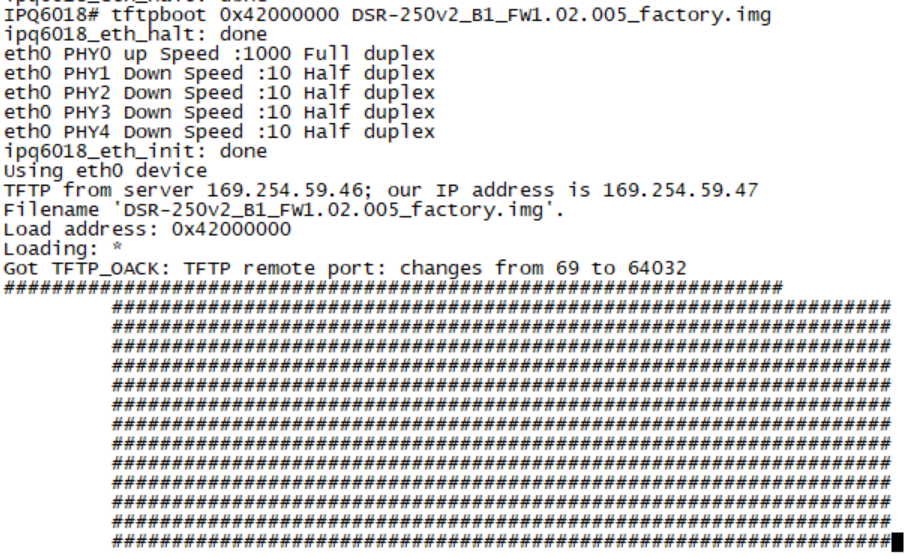

If encounter below timeout situation, please disable the firewall first,
- imgaddr=$fileaddr && source $imgaddr:script
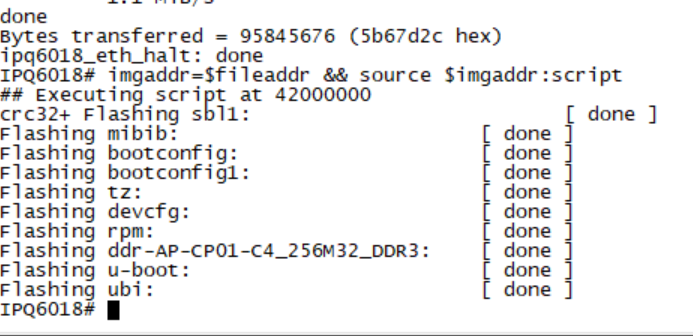
- reset
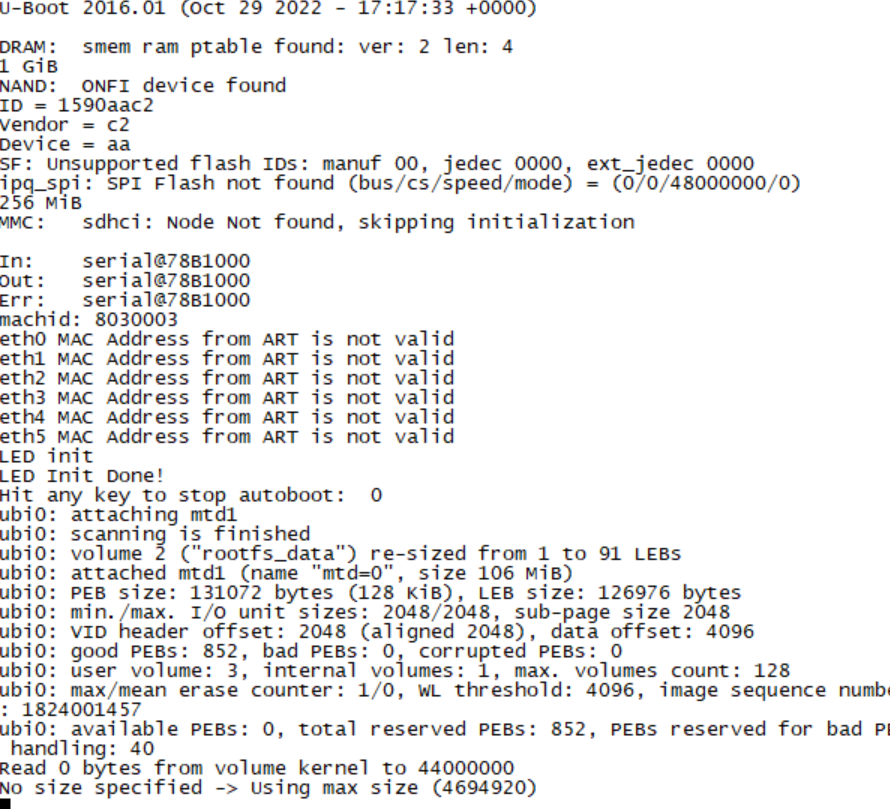
3.4 After reset command, Firmware will boot 'DSR-250V2' will be prompt.
You may need to set your PC IP to 192.168.10.2 with Gateway 192.168.10.1 when connecting to DSR-250V2 192.168.10.1 after reset.
Then you can access to DSR-250V2 WebGUI successfully then updating FW to MP version as normal process.