
DSL-2750B Internet Setup for Windows 7
Internet Setup for Windows 7
Getting Started
Position the DSL-2750B in your desired location, and connect the power cable to the rear of the device. From the ADSL micro filter device that provides the separated telephone and ADSL cables, connect the ADSL one to the grey socket marked DSL also on the rear of the device. Finally, connect a network cable from one of the yellow LAN sockets on the rear of the device to the LAN socket on your computer. It is recommended that you configure the device whilst connected via cable. If you are planning to use the device via the Wireless, set up first your LAN network and your Wireless connection whilst connected via cable. You can then configure the Internet connection via Wireless.
Open the Network and Sharing Centre on your PC and on the left-hand side of the window, click on Change Adapter Settings. Your installed network adapters should now be visible. The Ethernet cable adapter will be called Local Area Connection. If you are using one, there will be another connection labelled Wireless Network Connection. If either is greyed out, right-click and on the menu that appears, left-click on Enable. You will likely only need one enabled at any one time.
Single-left-click on the Local Area Connection and then right-click and select Properties from the menu that appears. In the box that then appears, look for Internet Protocol version 4 (TCP/IPv4) and double-left-click on it. The new box that appears is where you can configure the LAN address settings of your computer. For IP Address and DNS Servers you should select Obtain Automatically. Click Accept (this will close the window) and Accept again on the Local Area Connection properties window (which will close). Your network settings will now be updated.
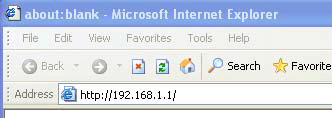
To access the configuration pages on your device, open a web browser, and in the address bar type the IP address of the DSL-2750B (default address is 192.168.1.1).
Log in (default User: admin; default Password: admin), and go to Setup -> LAN Setup
Internet Setup
For this section, you will need the information you received from your ISP, which is most likely for a PPPoE-type connection (PPPoE will be defined here, but your ISP will specify which type of connection they use).
Click on Setup ->Internet Setup.
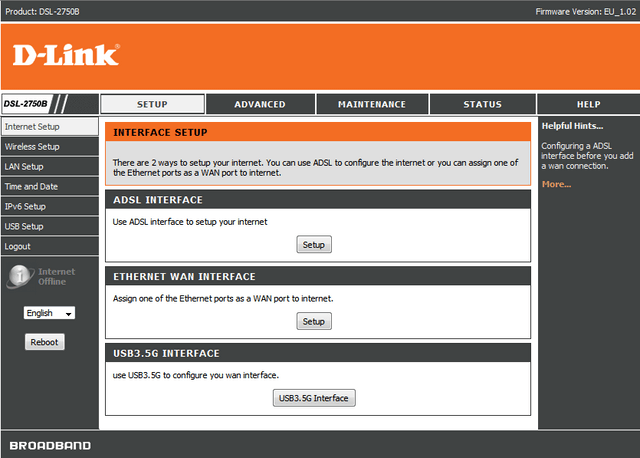
Under ADSL INTERFACE click on Setup.
Under Manual ADSL Connection Setup click PPPoE/PPPoA.
Under PPPoE/PPPoA Internet Connection Type, DNS and Default gateway and the final panel, enter the information supplied by your ISP. If you are unsure, contact your ISP for clarification.
Click Apply, and on the next screen click Apply again.
The Internet LED (World symbol) on the top front face of the DSL-2750B should now be lit.
Otros usuarios también consultaron:
- DSL-2750B Port forwarding for Windows 7 Ver respuesta
- DSL-2750B router Wireless Setup for WINDOWS 7 Ver respuesta
- DSL-2750B LAN Setup for Windows 7 Ver respuesta
- DSL-2750B Parental Control Ver respuesta
- DSL-2750B USB Functions for Windows 7 Ver respuesta
- How to open ports on the DSL-2750B? Ver respuesta