
How to configure the DHP-W311AV?
The following steps will help you synchronize the DHP-W311AV.
Step 1 – Connect both products to the same power socket/power strip.
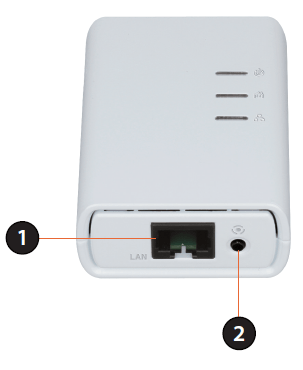
Step 2 – On the non-wireless device (the smaller device with the 3 lights) press the button (marked as 2 in the image below) for 10 seconds. The button is next to the network socket (marked as 1 in the image below).
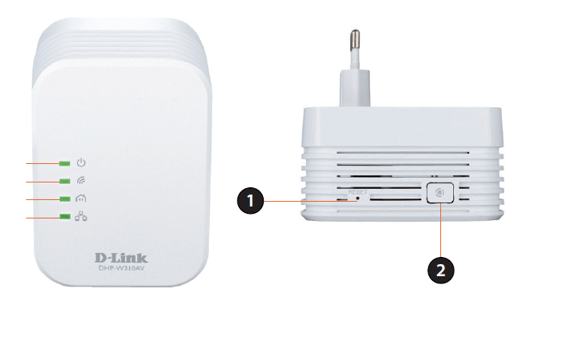
Step 3 – On the wireless device (the larger device with 4 lights) press the reset switch (marked as 1 in the image below) with a paperclip for 10 seconds.
Step 4 – Check that the light with the icon like a house is lit in green on both devic-es. This indicates that both units are communicating.
Step 5 – You can now scan for Wireless networks on your computer.
Step 6 – Locate the network name that starts with "dlink".
Step 7 – Connect to this network and enter the password as it appears on the card included with the device.
Step 8 – Check that you are able to connect to the internet.
Step 9 – You can now locate the wireless device wherever you want to use it. When the light turns green the device has finished booting up.
Step 10 – Check that the light with the house icon is green. If not, then either try a different power outlet, or try moving the device closer to the router.
These may also help:
- Why is my power-line ethernet adapter slower than 200Mbps? Read Answer
- Why is my powerline ethernet adapter slower than advertised? Read Answer
- Why won't my two DHP powerline devices connect together? Read Answer
- Powerline Installations Considerations Read Answer
- Powerlines and Wireless Installation Considerations Read Answer
- How do I change the Wireless network settings on the DHP-W311AV from the default values? Read Answer