How do I set up my network with COVR-C1203?
Method 1: Using the D-Link Wi-Fi App
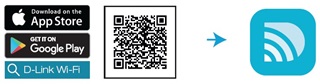
Step 1: Download the D-Link Wi-Fi app from the App Store or Google Play:
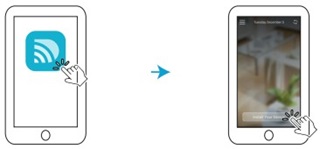
Step 2: Launch D-Link Wi-Fi App. Tap Install Your Device and select COVR-1203 from the list. Follow the on-screen instructions to complete the setup:
Step 3: Follow the instructions below to complete the setup:
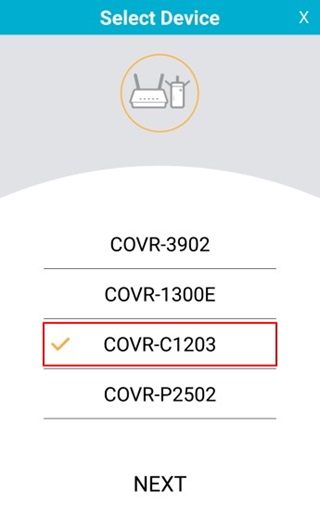
(1) Select COVR-C1203 from the list and tap NEXT.
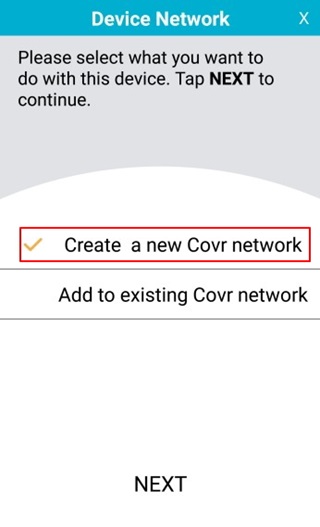
(2) Select “Create a new Covr network” and tap NEXT:
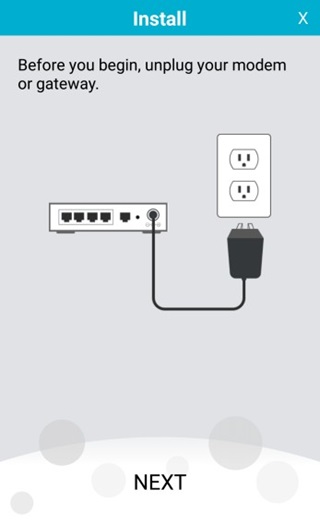
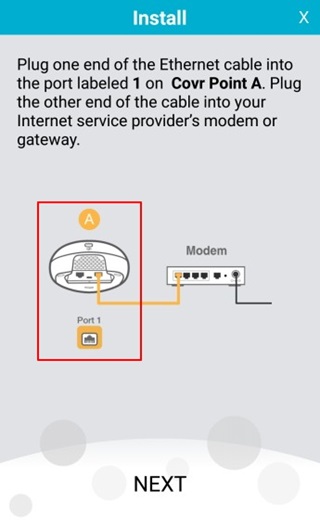
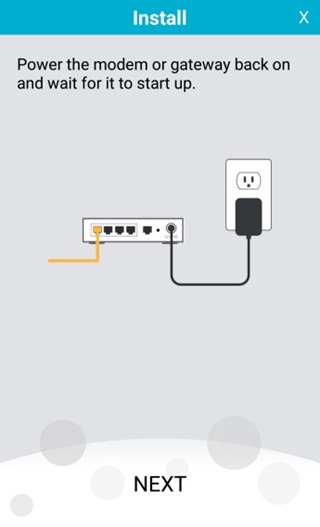
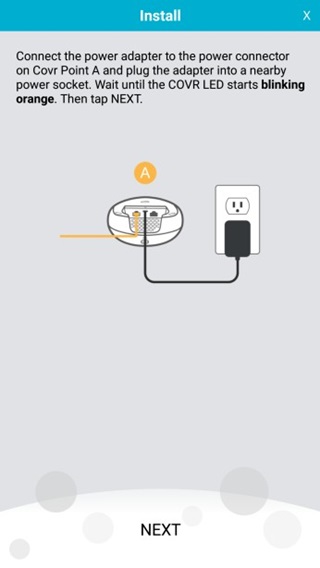
(3) Unplug your modem or gateway. Plug one end of the included Ethernet cable into port 1 on the Covr Point labeled A, and plug the other end of Ethernet cable into your modem or gateway, then power the modem back on. Next, connect the power adapter and plug in Covr Point A:
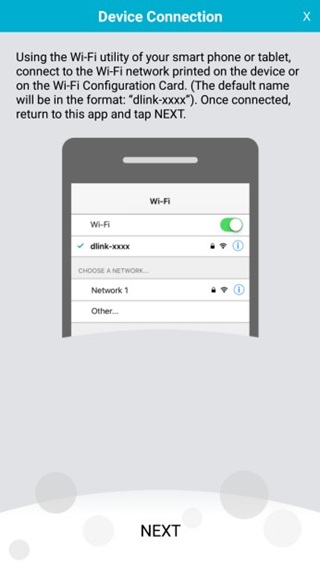
(4) Connect your mobile device or tablet to the Wi-Fi network (SSID) printed on the device label or included Wi-Fi configuration card (The default name will be in the format: “dlink-xxxx”). Once connected, return to the app and tap NEXT to continue:
(5) Your mobile device or tablet will now connect to your COVR-C1203 system:
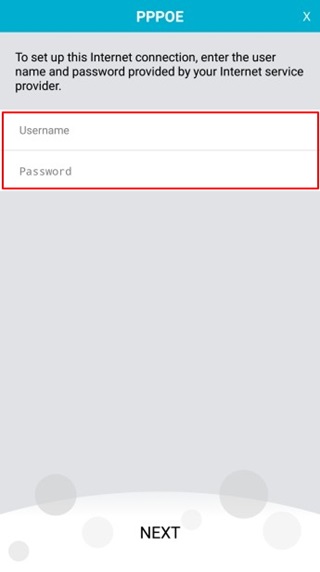
(6) If a PPPoE connection is detection, enter your PPPoE user name and password provided by your ISP, then tap NEXT:
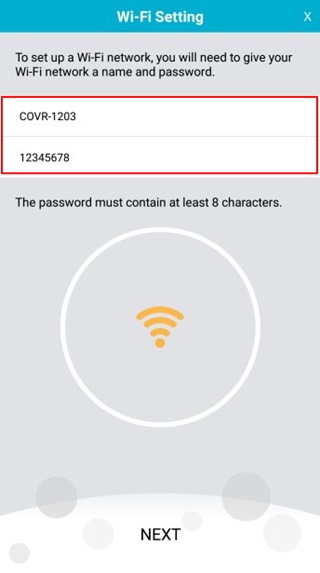
(7) Enter a Wi-Fi name (SSID) and password for your Covr Wi-Fi network, then tap NEXT:
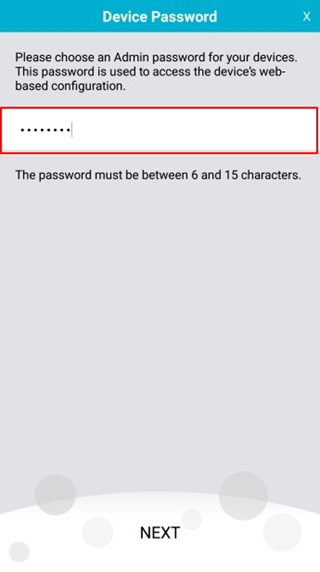
(8) Enter an admin password. This password will be used to access the web UI and the Wi-Fi app for both the COVR router and COVR Point. Tap NEXT to continue:
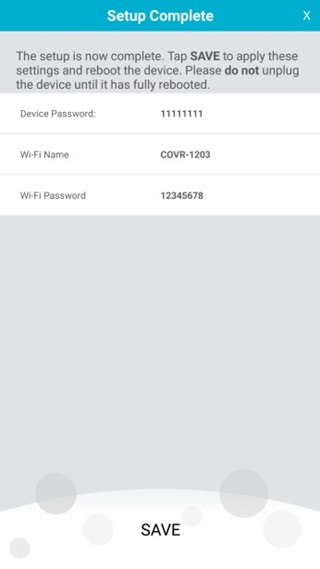
(9) A summary page will display your settings. Tap SAVE to save your settings:
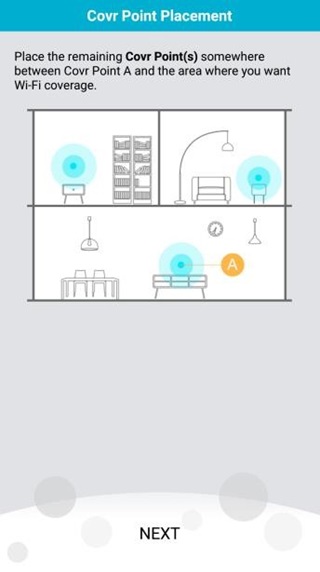
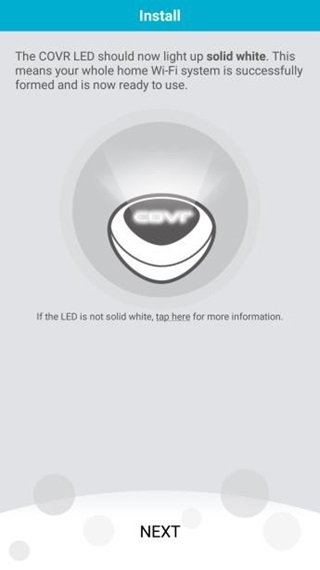
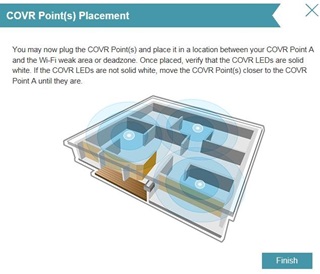
(10) Place the remaining Covr Point(s) anywhere between Covr Point A and the area where you would like to extend your whole home Wi-Fi to:
Note: Check the LED indicator on your Covr Points to ensure a good connection.
- Solid white: Strong signal.
- Blinking white: Weak signal. Move your Covr Point(s) closer to the Covr Point A until the LED turns solid white.
- Blinking Amber: Covr Point(s) can’t receive signal. Move your Covr Point(s) closer to the Covr Point A until the LED turns solid white.
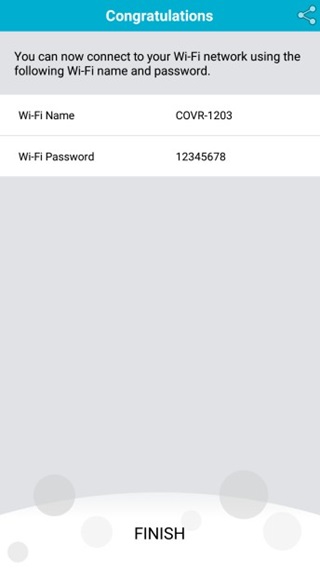
(11) You can connect your devices to your Covr Wi-Fi network through any of the Covr Points using your Wi-Fi name and password. Tap FINISH to complete the setup process:
(12) On the home page of the D-Link Wi-Fi app, you can now see your COVR-C1203 COVR router and COVR points:
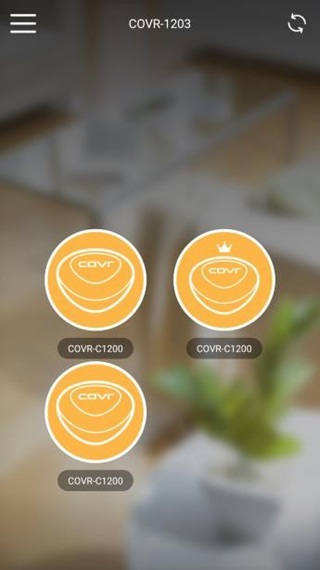
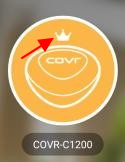
The device icon with a crown sign indicates the COVR Router.
Note: The below chart lists the supported COVR models of D-Link Wi-Fi app:
| App | Supported Models |
| D-Link Wi-Fi | COVR-3902, COVR-C1200/C1202/C1203, COVR-P2502, COVR-2202 |
Method 2: Using the web UI
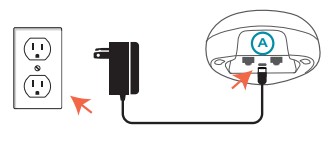
Step 1: Connect the power adapter and plug in the Covr Point labeled A (Covr Router):
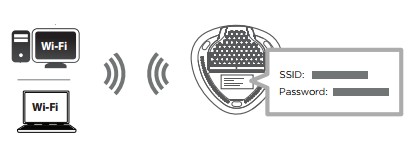
Step 2: Wait for the device to boot up. When the Covr LED starts blinking amber, connect your PC or laptop to the Wi-Fi name (SSID) printed on the back of the device, or on the included Wi-Fi Configuration Card:
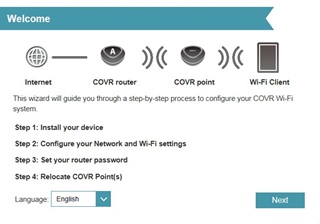
Step 3: Type http://covr.local./ into a web browser and follow the on-screen instructions to complete the setup:

Step 4: The first time you log in, the wizard will automatically start. Plug one end of Ethernet cable into port 1 on the COVR router (Covr Point A), and plug the other end of the Ethernet cable into your
modem or gateway. Click Next to continue.
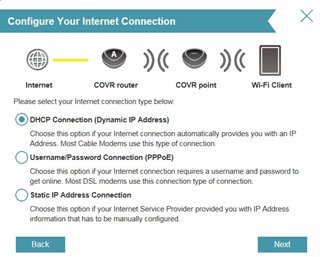
Step 5: The router will automatically detect your connection type. If you are using PPPoE, you will be prompted to enter your PPPoE user name and password (see step 6). For cable and dynamic connections, if detected, go to step 8.
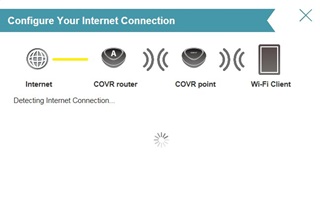
If the router cannot detect your connection type, the following screen will appear. Select the type of Internet connection you have and click Next. If you have a static connection, select Static IP Address Connection and you will be prompted to enter the IP address, subnet mask, default
gateway, and DNS server(s) address(es).
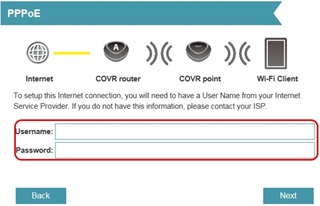
Step 6: If you are using PPPoE (connecting behind modem), enter your PPPoE user name and password. Click Next to continue.
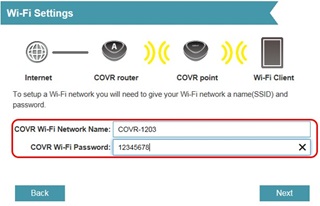
Step 7: Enter a Wi-Fi network name (SSID) and a Wi-Fi password. This name and password will be assigned to both the 2.4GHz and 5GHz bands on all Covr Points. Click Next to continue.
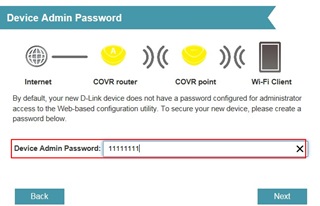
Step 8: Enter an admin password for your COVR devices. This password will be used to access the web UI and the D-Link Wi-Fi app. Write it down and then click Next to continue.
Step 9: A summary page will display your settings. If you want to make changes, click Back, otherwise, click Next to continue.

Step 10: Click Finish to save your settings.
Now you can plug in the remaining COVR Point(s) and place them anywhere you want to extend your whole home Wi-Fi to.
The remaining Covr Points will automatically synchronize with COVR Point A and obtain its configuration settings.
Check the LED indicator on your Covr Points to ensure a good connection.
- Solid white: Strong signal.
- Blinking white: Weak signal. Move your Covr Point(s) closer to the Covr Point A until the LED turns solid white.
- Blinking Amber: Covr Point(s) can’t receive signal. Move your Covr Point(s) closer to the Covr Point A until the LED turns solid white.
Note: You can turn off the LED (for both COVR router and COVR point(s):
Please launch your browser and enter http://covr.local./ into the address bar. Then log in and follow the steps below:
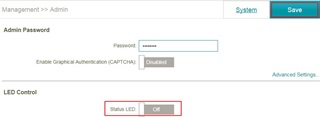
Step 1: Click Management -> System Admin:
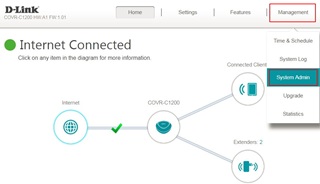
Step 2: Toggle Status LED to Off, then click Save. This will turn off the LED on all Covr Points.
Toggle the Status LED to On to enable the LED: