
How do I set up scheduled recording in D-ViewCam?
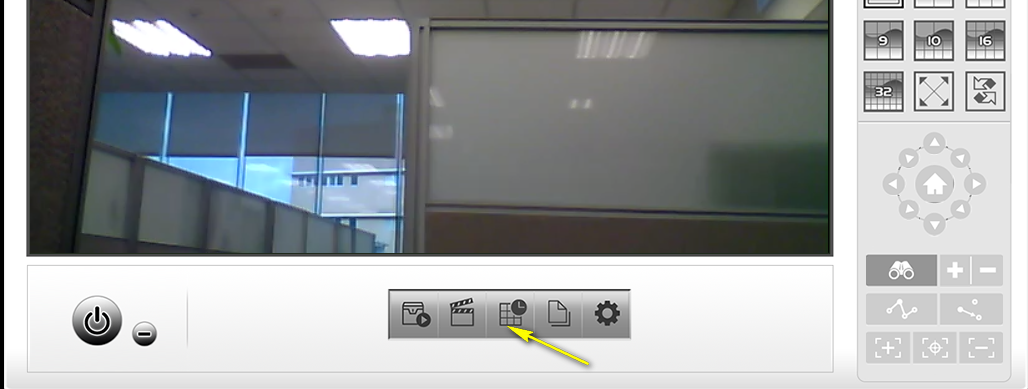
Step 1: Launch D-ViewCam and click the Schedule Configuration icon.
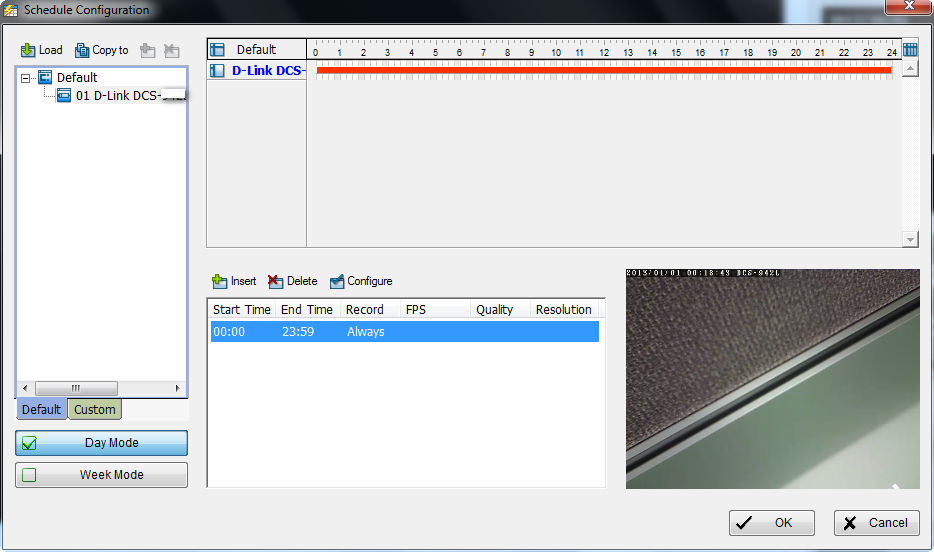
Step 2: Select the camera(s) you want to apply the recording schedule to, then create a schedule and click the Configure icon.
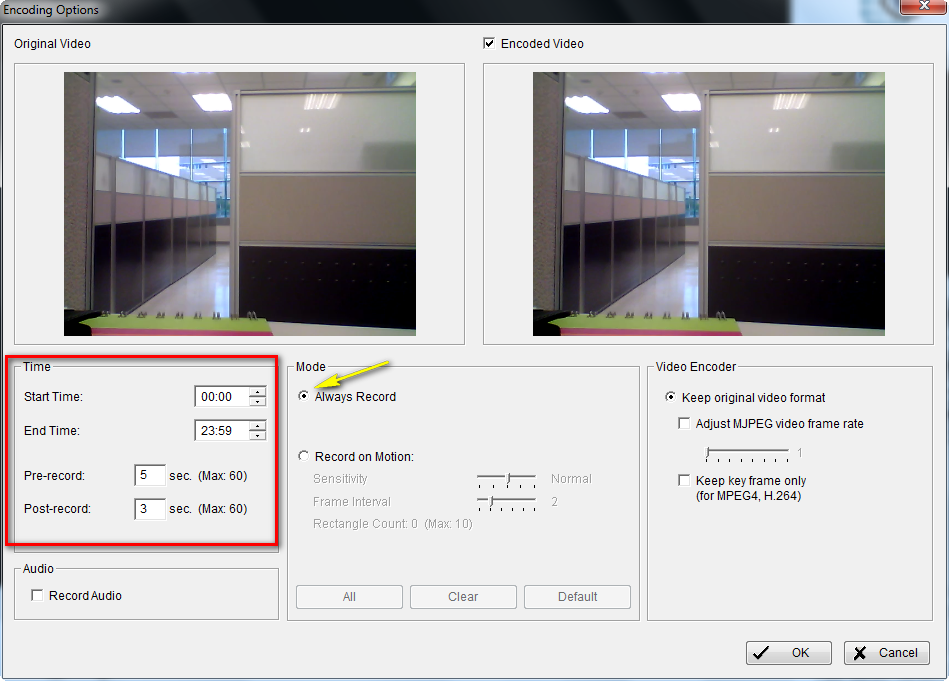
Step 3: Under Mode, ensure Always Record is selected.
Step 4: Under the Time section, specify the time when you want the recording to occur and click OK. You can also determine how many seconds you wish Pre-record and Post-record for when motion is detected.
Note: If you want to record audio, be sure to check the Record Audio box under the audio section.
Click OK to close the Encoding Options and click OK again to close Schedule Configuration.
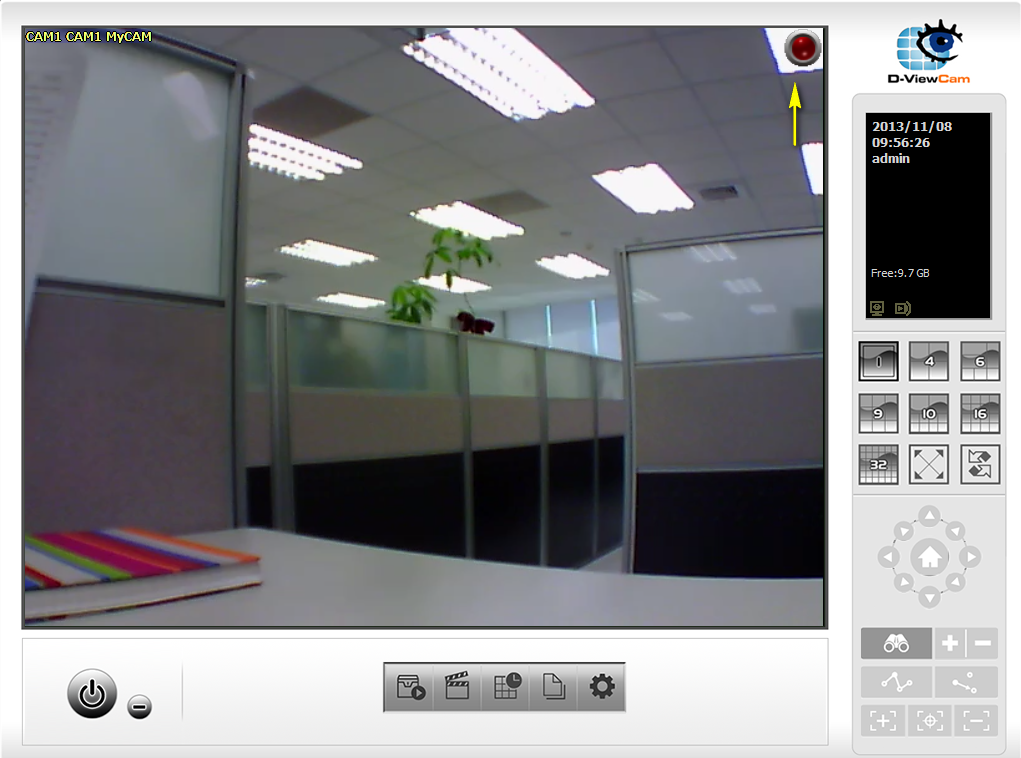
Step 5: Click the Start Menu icon and click Start Recording Schedule.
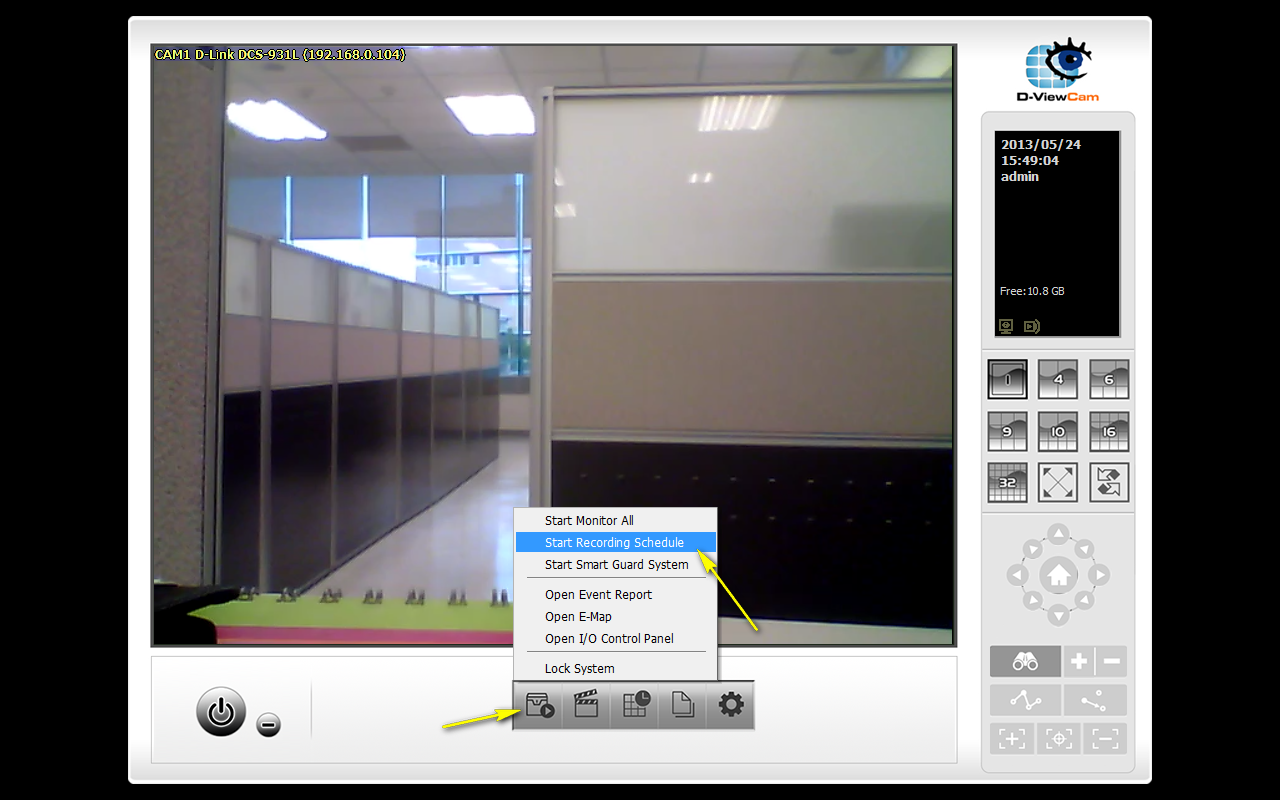
Note: A red circle will appear in the top right corner of each camera with recording configured. This indicates that it is recording.
Ceci peut également aider.
- How do I access my mydlink camera remotely? Lire la réponse
- How do I change the LAN IP address of my camera? Lire la réponse
- What can I do when Active X fails to install during my mydlink camera setup? Lire la réponse
- How do I configure motion detection on my camera? Lire la réponse
- How do I configure the audio settings on my DCS-5020L? Lire la réponse
- How do I enable a new camera in D-ViewCam? Lire la réponse
- How do I manually upgrade the firmware on my camera? Lire la réponse
- How do I mount my camera to a wall or ceiling? Lire la réponse
- How do I reset my camera to factory default settings? Lire la réponse
- How do I set an administrator (admin) password on my DCS-5020L? Lire la réponse
- How do I set up and install my DCS-5020L? Lire la réponse
- How do I set up motion detection and recording in D-ViewCam? Lire la réponse
- How many types of motion detection are available on my IP camera? Lire la réponse